


PrimeNG UI Component for Angular
Introduction
In this article, we'll discuss, how to use PrimeNG UI Component in Angular application.PrimeNG is a free open source library of UI components,PrimeNG is developed by PrimeTek Informatics.PrimeNG library include 80 components in a single library,so there would be no need to add any other library for different UI.It include all components for UI like datatable,breadcrumbs,Input ,Multimedia,drag and drops ,menu etc

Note:
Make sure that we have Node.js installed and if not, then download and install the latest version of Node.js from Node.js website.Download Node.js
After downloading Node.js, install it and check the node and npm versions. To check the version, open command prompt, and type -
To check node.js version
node -v
To check npm version
npm -v
Install Angular CLI
We are going to create the project using Angular CLI ,so create this project we need angular cli installed , If you haven't, use the following command to install it
npm install -g @angular/cli
Create a new angular project 'PrimeUIDemo'
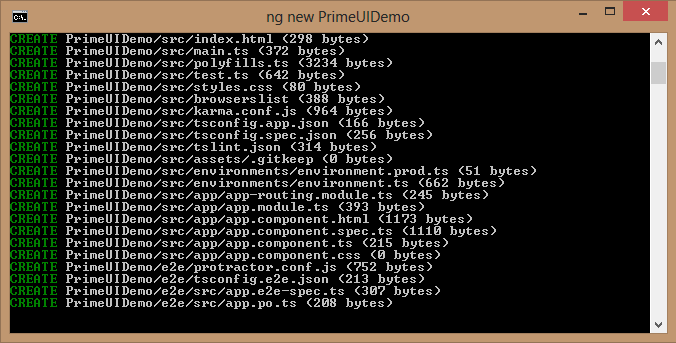
Create a new angular project ,Use the following command to create a new Angular project.
ng new PrimeUIDemo
Open this project in Visual studio code and Install required packages for PrimeNG
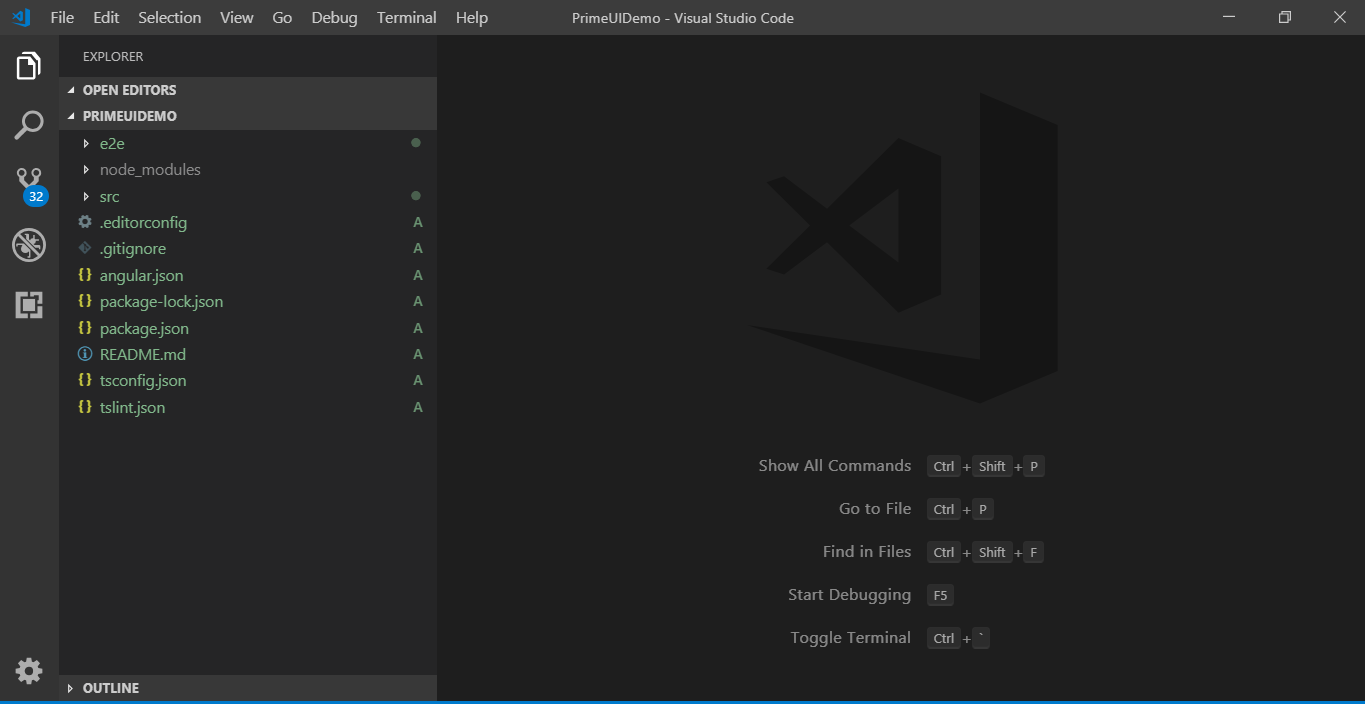
Open terminal View >terminal (ctrl + ~)
Install PrineNG packages
Use the following commands to install PrimeNG packages in the project
npm install primeng --save
npm install primeicons --save

Install angular animations
Install angular animation module in this project by using following command
npm install --save @angular/animations
Configure PrimeNG in app.module.ts
Open app.module.ts file and import components that we want to add in project.In this demo project we use panel ,button ,accordion components so first import required module for these components
import { PanelModule } from 'primeng/components/panel/panel';
import { ButtonModule } from 'primeng/components/button/button';
import { AccordionModule } from 'primeng/components/accordion/accordion';
Add in import

imports: [BrowserModule,
BrowserAnimationsModule,
FormsModule,
AppRoutingModule,
PanelModule,
ButtonModule,
AccordionModule
App.module.ts file
import { BrowserModule } from '@angular/platform-browser';
import { BrowserAnimationsModule } from '@angular/platform-browser/animations';
import { NgModule } from '@angular/core';
import { FormsModule } from '@angular/forms';
import { AppRoutingModule } from './app-routing.module';
import { AppComponent } from './app.component';
import { PanelModule } from 'primeng/components/panel/panel';
import { ButtonModule } from 'primeng/components/button/button';
import { AccordionModule } from 'primeng/components/accordion/accordion';
@NgModule({

  declarations: [
    AppComponent
  ],

  imports: [
    BrowserModule,
    BrowserAnimationsModule, FormsModule,
    AppRoutingModule,
    AccordionModule,
    PanelModule,
    ButtonModule,
  ],

  providers: [],

  bootstrap: [AppComponent]

})

export class AppModule { }
Open app.component.html file and remove all default html and add primeNG control ,we add two panel and in it add two accordin and a button in another panel
<p-panel>

  <p-accordion>

    <p-accordionTab header="INDIA">

      About INDIA

    </p-accordionTab>

    <p-accordionTab header="USA">

      About USA

    </p-accordionTab>

  </p-accordion>

</p-panel>

<p-panel>

  <button pButton type="button" label="Click"></button>

</p-panel>

<router-outlet></router-outlet>
Future Expansion of this article
In next part we will discuss about some more controls of primeNG and create a project using primeUI components and database.
Reference
https://www.primefaces.org/primeng/#/
