How to create an account in Jira? | Jira Tutorial
How to create an account in Jira?
In this article, you will get to know how the user can create a Jira account.
Jira is a software application that allows teams to track issues, manage projects, and automate workflows. It is developed by Atlassian which is an Australian Software Company.
It has four basic key concepts:
- Issue
- Project
- Board
- Workflow
Issue: An issue is an item whose progress is tracked from creation to completion. An issue is a bug, a user story, an epic, a test, and a task.
Project: A project is a way to group your issue into one piece of information and bind the issues/defects together. The developer/tester can configure issues associated with a project in a variety of ways, including visibility restrictions and applicable workflows.
Boards: A board in Jira is a visual representation of your team’s workflow within a project. The multiple boards for flexible ways to view, manage, and report on work in progress on the project.
Workflow: It represents the path that issues take the progress through your project cycle.
Steps to create a Jira account:
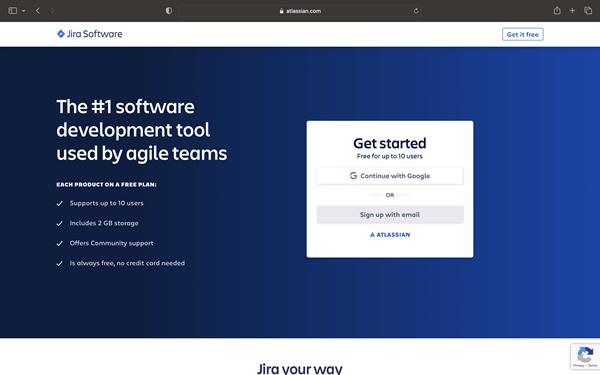
1. Search for the Jira website Or Click on the link: https://www.atlassian.com/software/jira
2. Set up a Jira account with the help of an email id. Note: You can create an account and access all the features at least for 30 Days.
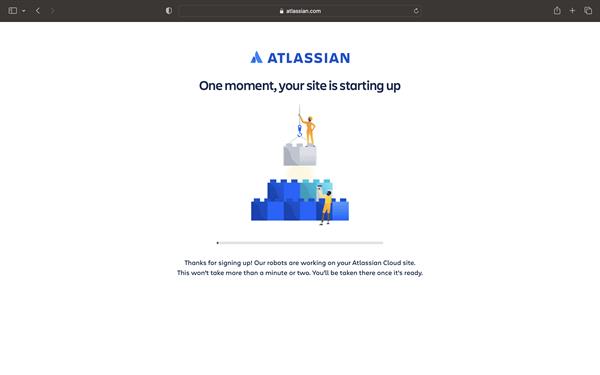
3. Give the name of your site. It will take some time to set up.
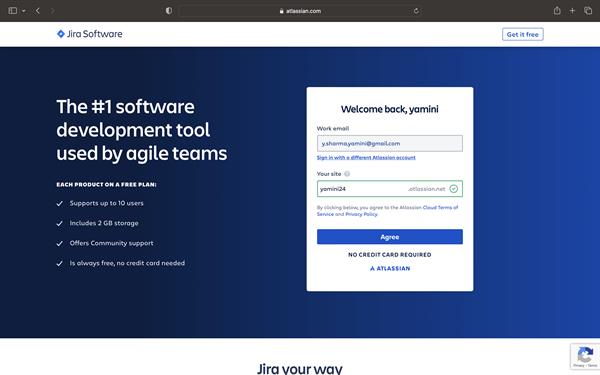
Just wait for a few seconds.
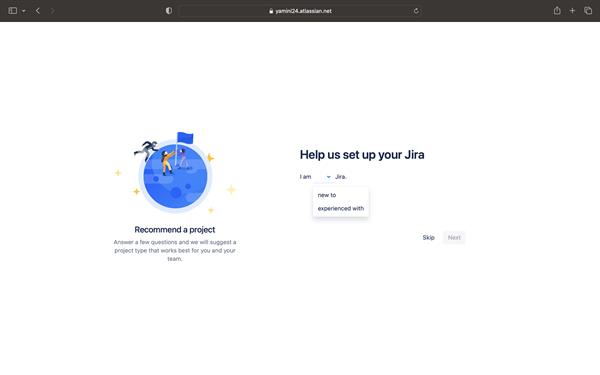
4. Set up at what stage you are in Jira. Are you an experienced or new Jira user?
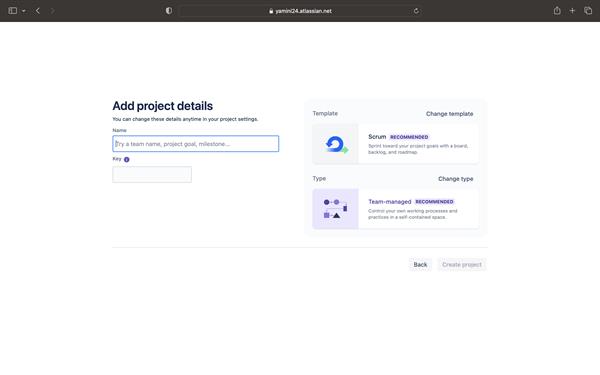
5. Write the name of the project and give the key.
Note: The key is the unique element that is added in front of everything created related to the project.
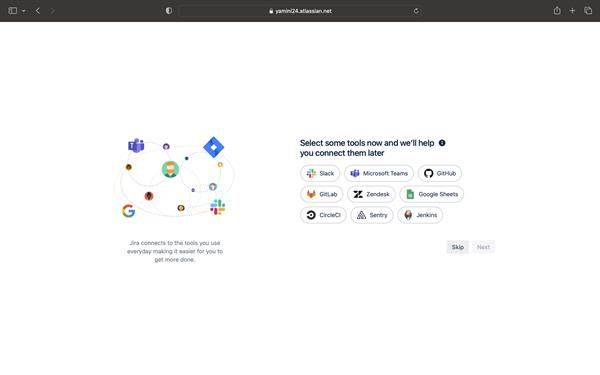
6. You can connect with multiple different apps and in the next page you can invite the teammates to be part of the project through their email id.
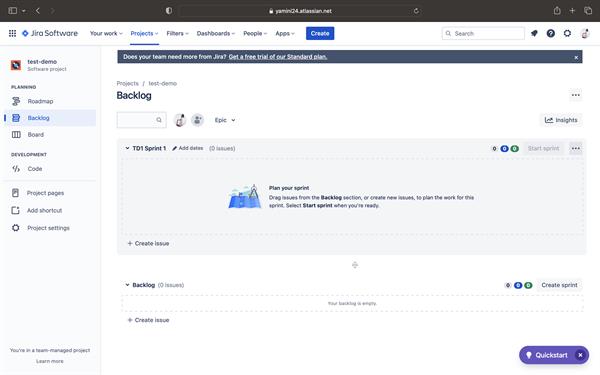
7. After this, the Jira dashboard will appear.
