Why to use Azure CLI? | Azure CLI Part 1
In This Post:
- Microsoft’s cross-platform command line interface
- Set of commands to create and manage Azure resources
- Primarily used for automation
- Not a replacement of PowerShell but an alternative
Why to use Azure CLI?
- Routine operations
- Automation of recursive tasks
- Resources deployment
- Scheduling the tasks
- If you are handy in writing scripts
- Very helpful for DevOps
- Easily manageable
Installation
Though it is not necessary to install Azure CLI because it is integrated with Azure Portal and available internally in the portal but even then, you wish to install it; follow the steps below:
Azure CLI is available to install for the following environments:
- Windows
- macOS
- Linux
- And it could be run in the Docker container and Azure Cloud Shell (integrated with Azure portal)
Windows
Using Microsoft Installer (MSI) installer with PowerShell
PS c:\> Invoke-WebRequest -Uri https://aka.ms/installazurecliwindows -OutFile .\AzureCLI.msi; Start-Process msiexec.exe -Wait -ArgumentList '/I AzureCLI.msi /quiet'; rm .\AzureCLI.msi
Using Microsoft Installer (MSI) downloadable
Visit https://docs.microsoft.com/en-us/cli/azure/install-azure-cli?view=azure-cli-latest
This link has all the instructions to install Azure CLI for Windows and other platforms. Choose your preferred operating system and follow the links given on the site.
Question: I have an older version of Azure CLI, how to upgrade it?
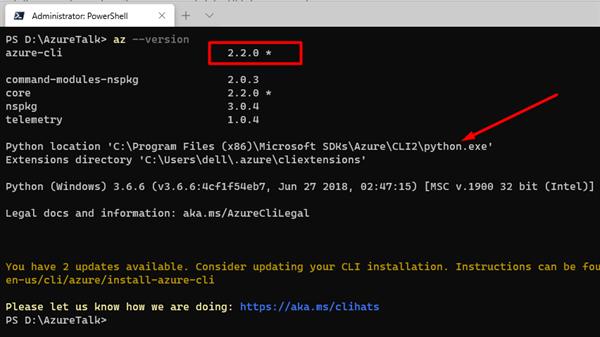
Example: Currently I found an older version of Azure CLI installed in my system and how did I upgrade it; see below
Old version:
Important note:
Azure CLI is written in Python therefore python.exe is appearing in the above snapshot once you check the installed version of Azure CLI.
How to update Azure CLI with latest version?
At the time of writing this document, the latest version is Azure CLI is 2.7.0
You don't need to uninstall current versions before using the MSI installer because the MSI will update any existing version. I visited the following link and chosen Windows as operating system
https://docs.microsoft.com/en-us/cli/azure/install-azure-cli?view=azure-cli-latest 
It’s quite simple. Once you click the “Current release of the Azure CLI” button, you would get a wizard. Follow the wizard instruction.
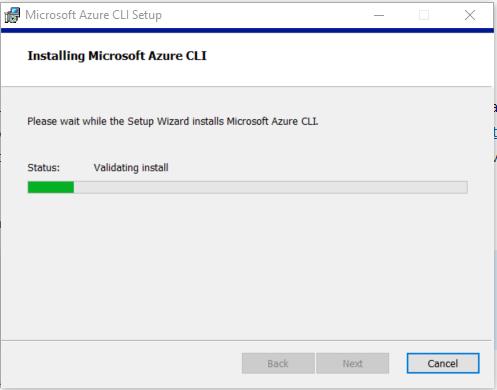
After successful installation, you can check the version again. This time you’ll get the updated version number.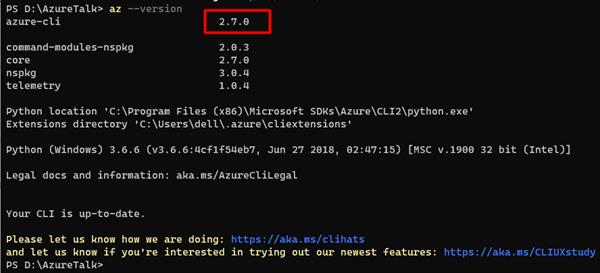
Start working in Azure CLI, some basic commands
- Login to Azure CLI using CMD terminal
Command:
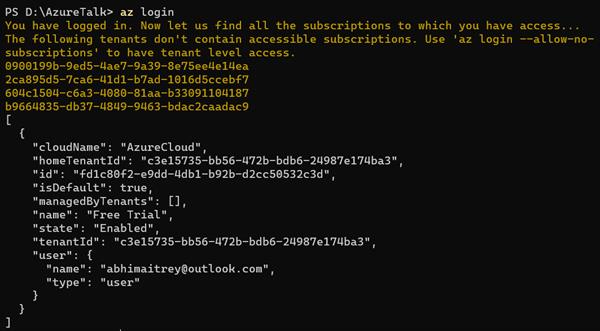
az login
If you are not already logged in to the Azure portal, it will open the internet browser asking for Azure credentials. Once done, you can come back to command prompt and will see the details of your Azure account.
Or
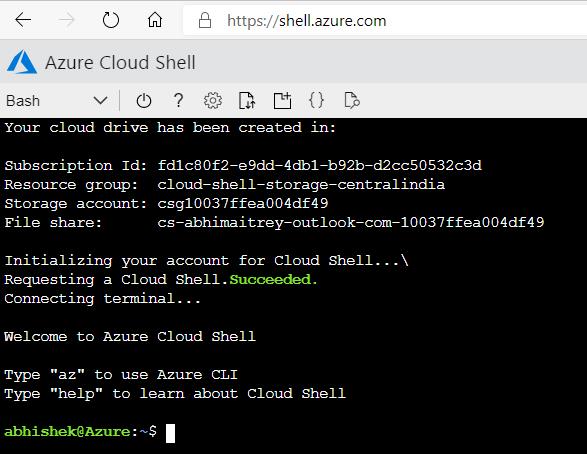
If you don’t know about the overall commands and wish to get help at any stage, you can use the "--help" or "- - h" switch. The "–help" switch elaborates the further actions / options are available for any command. Examples are given below.
Command:
az --help
Some of the categories are listed in the snapshot above, but the list is not exhaustive. Many other categories are there like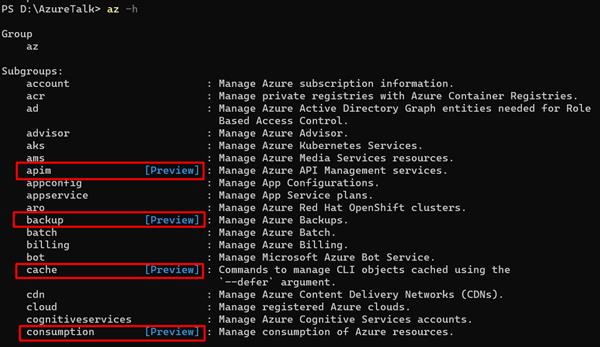
Note: Couple of services are yet in Preview and not ready for Production but for testing or experiment purpose you can use these too.
Command:
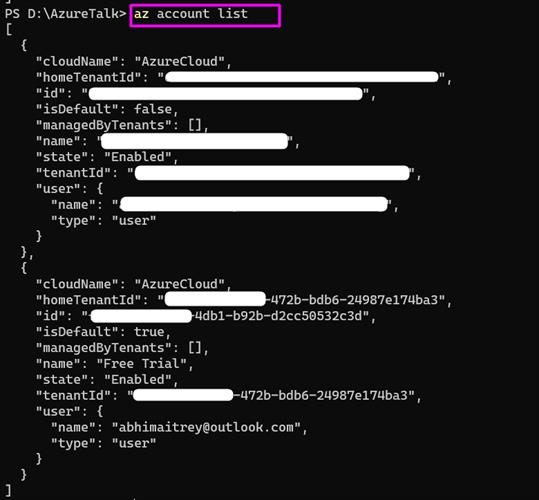
az account list
Get a list of subscriptions for the logged in account.
Command:
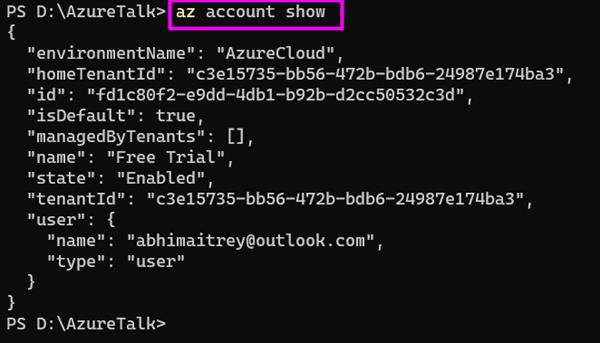
az account show
Get the details of a subscription.
Command:
az group list
List resource groups.
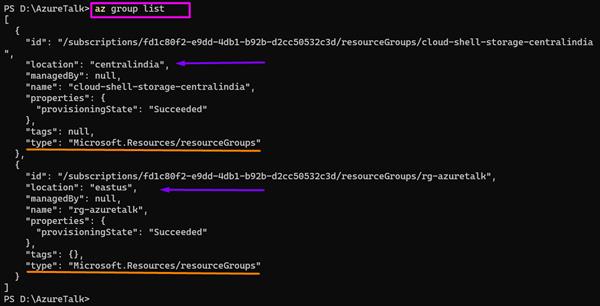
Note: the az group list command returns the result in array format []. If you wish to get specific details out of array; you can write the command as given here:
Command:
az group list –query “[].name”

The following command will give the output in more readable format. You can create runtime properties (JSON) format and get output in that format.
Command:
az group list –query “[].{location:location, rgName:name}”

Command:
az group list -o table
Get the output in a table format which is more readable.

This is the end of Part 1 but I will elaborate Azure CLI more in upcoming articles. You will get the Part 2 shortly.
Happy learning!


