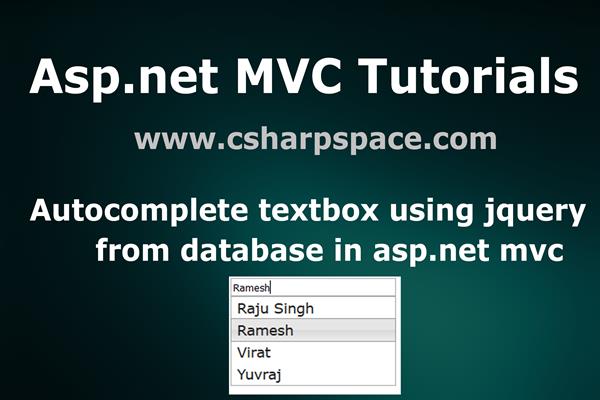
Implement Autocomplete Textbox Using JQuery with Database in Asp.net MVC
Introduction:
Today in this article, I will explain How to implement autocomplete textbox from the database using JQuery Ajax in Asp.net MVC.
It's useful when there are many rows, you can type part of the word in the text box, and then it can offer all of the words which are similar to it.
Follow these steps in order to implement “Autocomplete textbox from database using Jquery Ajax in Asp.net MVC”
Step1: Create New Project.
Go to File > New > Project > Web > Asp.net MVC web project > Enter Application Name > Select your project location > click to add button > It will show new dialog window for select template > here we will select empty project > then click to ok
Step2: Create a table in the database.
In this example, I have used following table for autocomplete data.
CREATE TABLE [dbo].[tbl_registration] (

    [Sr_no]    INT            IDENTITY (1, 1) NOT NULL,

    [Email]    NVARCHAR (100) NULL,

    [Password] NVARCHAR (MAX) NULL,

    [Name]     VARCHAR (MAX)  NULL,

    [Address]  NVARCHAR (MAX) NULL,

    [City]     NVARCHAR (MAX) NULL,

    CONSTRAINT [PK_tbl_registration] PRIMARY KEY CLUSTERED ([Sr_no] ASC)

);
Step3: Add Connection string in web.config file
Here I have to add connection string in ‘web.config’ file under Configuration section as follows
<connectionStrings>

    <add name="con" connectionString="Data Source=.;Initial Catalog=test;Integrated Security=True" providerName="System.Data.SqlClient"/>

  </connectionStrings>
Step4: Create a controller.
Go to Solutions Explorer > right click on controller folder > Add Controller > Enter Controller name > Select template “empty MVC Controller ” > Add.
Here I have created a controller “HomeController”
Step5: Create a class for Database operation.
Here in this example, I have used Ado.net as database operation so we need to create a class for all database operations. Here I have created ‘db.cs’ class.
Go to Solutions Explorer > right click on project solution> Add New Folder > Enter Folder name (Here I rename it as ‘database_Access_Layer) > right click on folder > Add new class.
Now write the following code snippet given below.
using System;

using System.Collections.Generic;

using System.Linq;

using System.Web;

using System.Data;

using System.Data.SqlClient;

using System.Configuration;

namespace AutocompleteMVC.database_Access_Layer

{

    public class db

    {

        SqlConnection con = new SqlConnection(ConfigurationManager.ConnectionStrings["con"].ConnectionString);


        public DataSet GetName(string prefix)

        {

            SqlCommand com = new SqlCommand("Select * from tbl_registration where Name like '%'+@prefix+'%'", con);

            com.Parameters.AddWithValue("@prefix", prefix);

            DataSet ds = new DataSet();

            SqlDataAdapter da = new SqlDataAdapter(com);

            da.Fill(ds);

            return ds;

        }

    }

}
In above code, "GetName" method takes parameter as a word prefix and on the basis of that word it returns complete word list that contains prefix word.
Step6: Create the model for the search result.
Go to Solutions Explorer > right click on Model > Add new class (Here I have to add dropdown.cs)
Now write the following code snippet
public class search
{
public string Sr_no { get; set; }
public string Name { get; set; }
}
Step7: Add methods in the controller.
Here I have created following methods in HomeController, which has following code snippet:
using System;

using System.Collections.Generic;

using System.Linq;

using System.Web;

using System.Web.Mvc;

using System.Data;

using System.Data.SqlClient;

using AutocompleteMVC.Models;

namespace AutocompleteMVC.Controllers

{

    public class HomeController : Controller

    {

        //

        // GET: /Home/

        database_Access_Layer.db dblayer = new database_Access_Layer.db();

        public ActionResult Index()

        {

            return View();

        }


        public JsonResult GetRecord(string prefix)

        {

            DataSet ds = dblayer.GetName(prefix);

            List<search> searchlist = new List<search>();

            foreach (DataRow  dr in ds.Tables[0].Rows)

            {

                searchlist.Add(new search {

                Name = dr["Name"].ToString(),

                Sr_no = dr["Sr_no"].ToString()

                });

            }

            return Json(searchlist, JsonRequestBehavior.AllowGet);

        }

    }

}
In the code given above, “GetRecord” method take a parameter as a prefix then pass that parameter to the GetName method in "db" class. This method return result as JSON format.
Step8: Add view for action in controller & design.
Right Click on Action Method > Add View > Enter View Name (Here I add Index) > Select View Engine (Razor) > Add.
It has following code and design
@{

    Layout = null;

}


<!DOCTYPE html>


<html>

<head>

    <meta name="viewport" content="width=device-width" />

    <title>Index</title>

    <link rel="stylesheet" href="//code.jquery.com/ui/1.11.4/themes/smoothness/jquery-ui.css">

    <script src="//code.jquery.com/jquery-1.10.2.js"></script>

    <script src="//code.jquery.com/ui/1.11.4/jquery-ui.js"></script>

    <script>

        $(document).ready(function () {

            $("#CityName").autocomplete({

                source: function (request,response) {

                    $.ajax({

                        url: "/Home/GetRecord",

                        type: "POST",

                        dataType: "json",

                        data: { prefix: request.term },

                        success: function (data) {

                            response($.map(data, function (item) {


                                return { label: item.Name, value: item.Name };

                            }))

                        }

                    })

                },

            });

        });

    </script>

</head>

<body>

    <div>

        <input type="text" id="CityName" style="width:200px;" />

    </div>

</body>

</html>
In above code don’t forget to add Jquery files, here I have to create Jquery Ajax method that calls “GetRecord” method on text change of textbox and return with word suggestion.
Step 9: Run Application.
We have done all steps, Now It’s time to run the application
If you have any problem and face any difficulty then Share your experiences with us in the comments below!
Like this post? Don’t forget to share it!


