


How to Host Your Web Apps on Azure via FileZilla
In this article, we will learn how to upload a website to the Microsoft Azure via FileZilla (FTP). FileZilla is a cross-platform FTP application which is totally free software. We’ll create a Web App then download and publish a profile of that Web App.
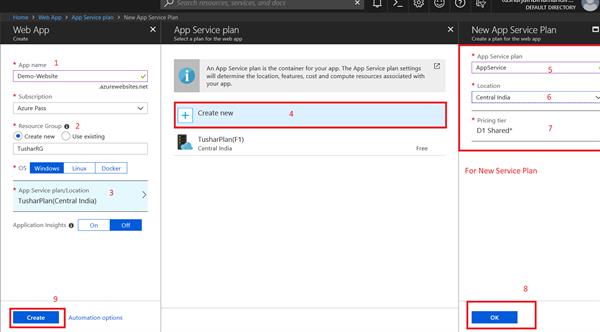
For creating a new Web App, First login into Azure.
Click on Create a Resource Go to WEB, and click on the WEB APP.
After creating our Web App on Azure, refer here “https://www.w3schools.com/html/html_editors.asp” to create a web page and save it on the desktop inside the folder.
Here’s the screenshot, created using HTML and saved it on the desktop in a folder.
So, Web App and HTML text are completed, go back to Web App.
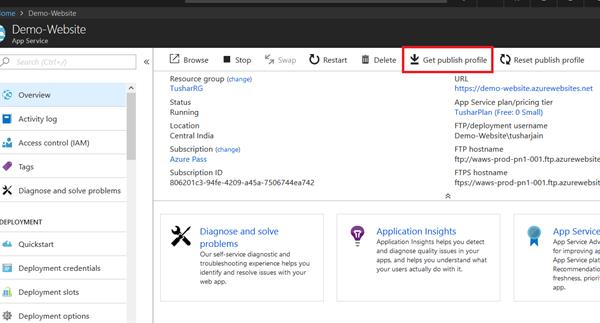
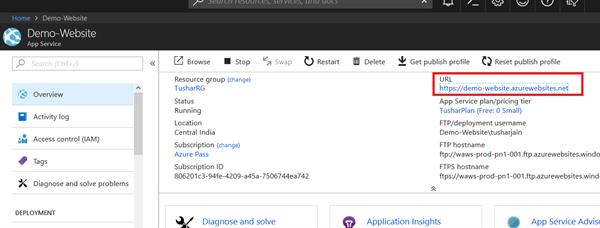
Click on to your Existing Web App and select ―DASHBOARD to download the publish profile of your Web App.
In dashboard panel, click on to ―Download the Get Publish Profile.
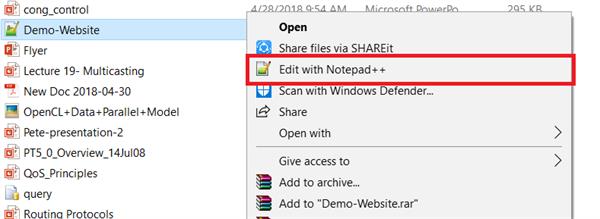
Right click on the downloadable file and open it with Notepad or Notepad++ to collect all the FTP information.
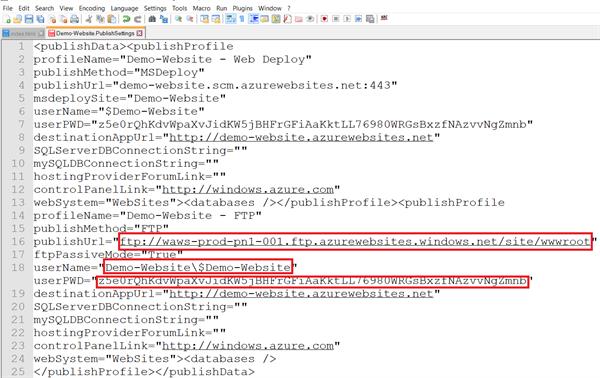
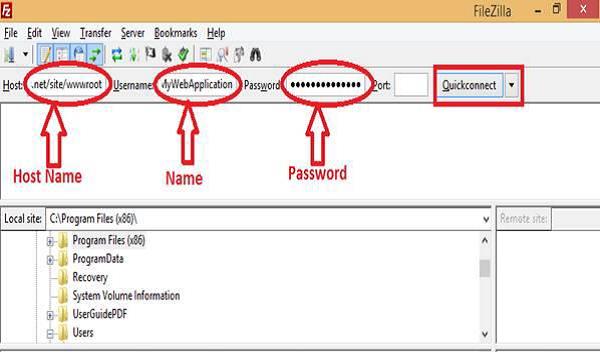
In the following screenshot, you will get publish URL (which is your hostname), username and user password.
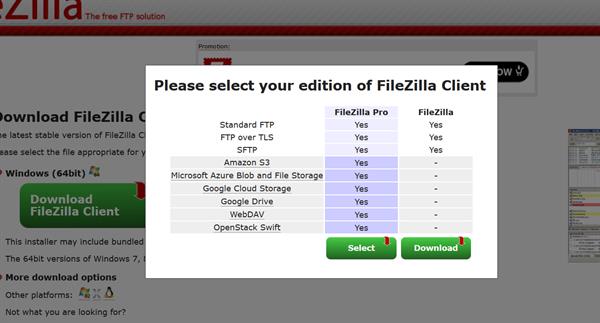
Now you will need to download FileZilla software from its official website
https://filezilla-project.org/download.php?type=client and directly select download.
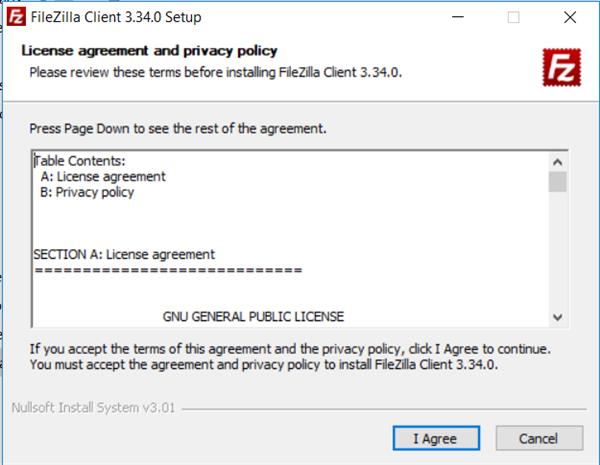
Accept the terms of the license agreement by clicking on ―I Agree.

This will ask for the administration of FileZilla whether you want for Anyone or only for you, so here selecting all users, click on to next button.
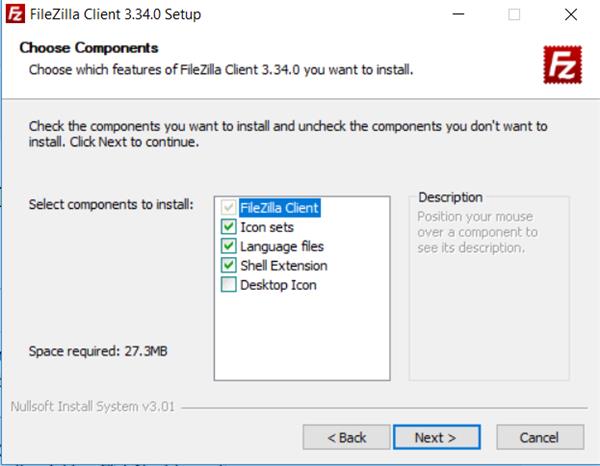
Next step of setup is selecting components of FileZilla which you want to install, so mark all the components and click on the next button.
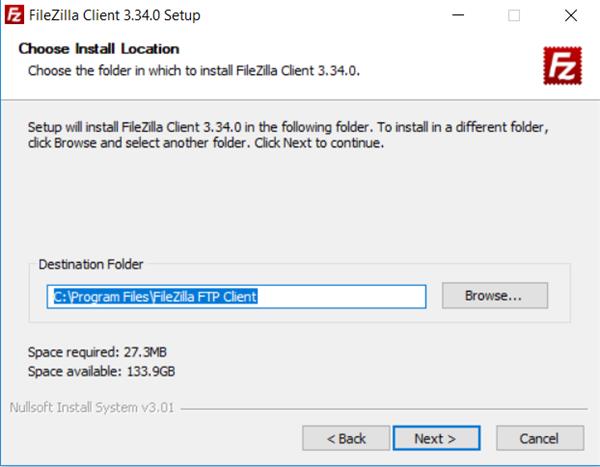
Select the path of installation and click on the next button.
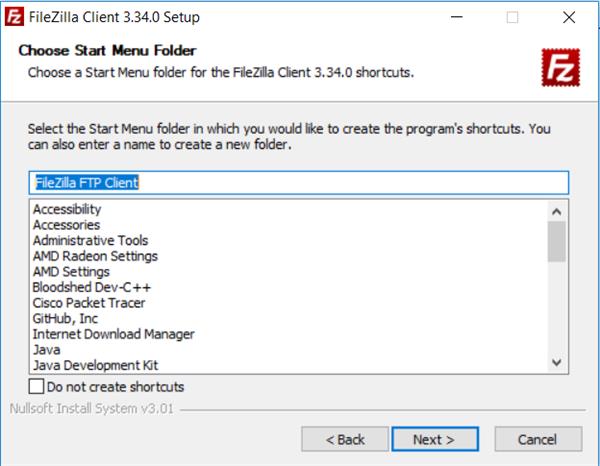
The following screenshot is asking for the start menu and if you do not want to create a shortcut then check on “Do not create shortcut” and click on ―Install button.
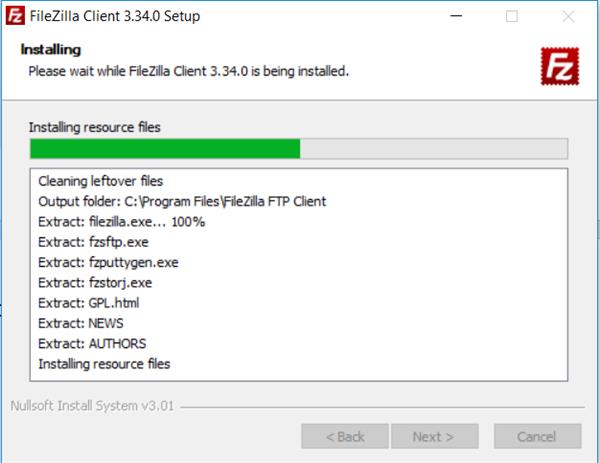
Your setup is being installed.
Click on to finish button to complete the process of setup.

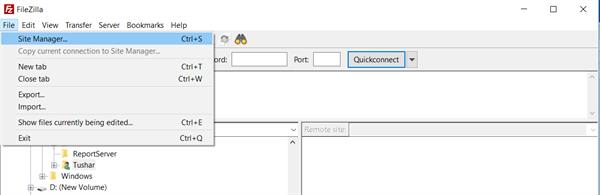
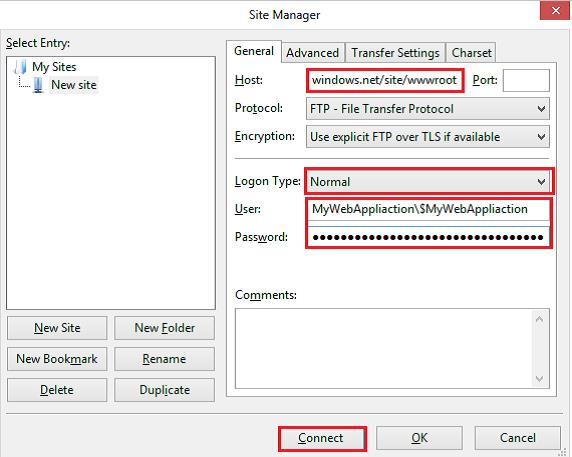
In File menu select ―Site Manager.
Under the site manager, click on to ―New Site.
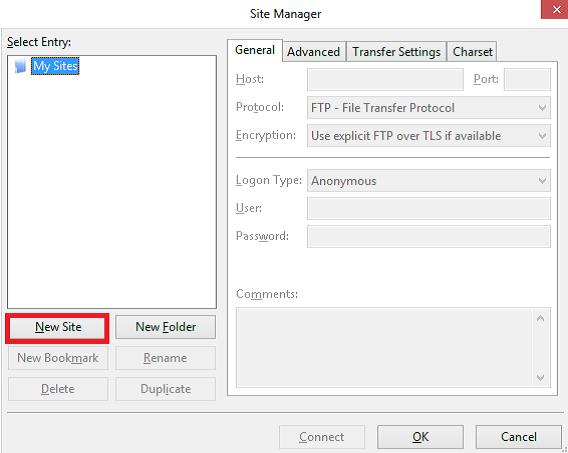
- Give a name to your new site.
- Under the General tab in the right side give the following values according to the following screenshot,
- Host: Paste the hostname from publish URL obtained from the published settings file above in Notepad.
- Login Type: Set this to Normal.
- User: Paste the userName obtained from the publish settings file above in Notepad. Password: Paste the userPWD obtained from the publish settings file above in Notepad.
- Click on Connect to connect to the site over FTP.
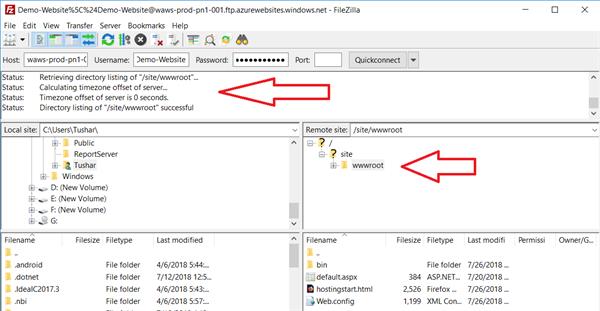
- You will see two folders under the root: Logfiles and Site.
Option 2: Follow the following procedure,
After connecting to the server, the status will be successful and a wwwroot folder will get created in the directory.
Now on desktop the folder you have created select the file, by clicking right, upload it.
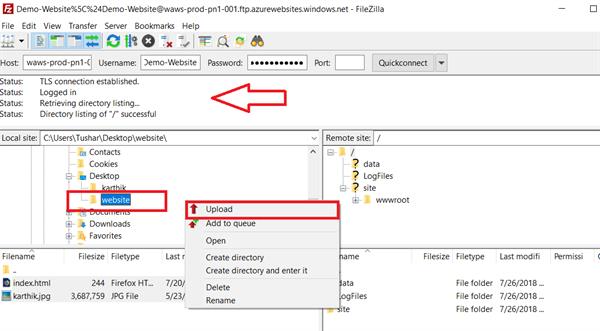
We have a connection with the FTP Server on Azure Cloud and on our local PC.

If everything is completed successfully then go back to Web App and click on it.
So here we got a result, we have successfully deployed our HTML page.

