


Introduction to Azure Blob storage? | How to Create and access Blob Storage in Azure?
In This Article, we'll Introduction to Azure Blob storage? | How to Create and access Blob Storage in Azure, So you just need to follow the Following Steps along with me and I hope you'll be able to do the same. First, you need to understand what is azure and it services if you new to Microsoft Azure, so follow this Article:
Introduction to Azure Blob storage
Azure Blob storage is Microsoft's item stockpiling answer for the cloud. Blob stockpiling is upgraded for putting away enormous measures of unstructured information. Unstructured data is data that does not adhere to a specific data model or definition, like text or binary data.
About Blob storage is meant for:
- Serving images or documents on to a browser.
- Storing files for distributed access.
- Streaming video and audio.
- Writing to log files.
- Storing data for backup and restore disaster recovery, and archiving.
- Storing data for analysis by an on-premises or Azure-hosted service.
Users or client applications can access objects in Blob storage via HTTP/HTTPS, from anywhere within the world. Items in Blob storage are open by means of the Azure Storage REST API, Azure PowerShell, Azure CLI, or an Azure Storage customer library. Client libraries are available for various languages, including:
- .NET
- Java
- Node.js
- Python
- Go
- PHP
- Ruby
About Azure Data Lake Storage Gen2
Blob storage underpins Azure Data Lake Storage Gen2, Microsoft's undertaking huge information examination answer for the cloud. Azure Data Lake Storage Gen2 offers a hierarchical filing system also because of the advantages of Blob storage, including:
- Low-cost, tiered storage
- High availability
- Strong consistency
- Disaster recovery capabilities
Blob storage resources
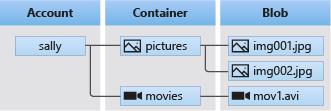
Blob storage offers three sorts of resources:
- The storage account
- A container within the storage account
- A blob during a container
The following diagram shows the connection between these resources.
Storage accounts
A storage account provides a singular namespace in Azure for your data. Every object that you simply store in Azure Storage has an address that has your unique account name. the mixture of the account name and therefore the Azure Storage blob endpoint forms the bottom address for the objects in your storage account.
For example, if your storage account is known as my storage account, then the default endpoint for Blob storage is:
Containers
A container organizes a group of blobs, almost like a directory during a filing system. A storage account can include a vast number of containers, and a container can store a vast number of blobs.
Blobs
Azure Storage supports three sorts of blobs:
Block blobs store text and binary data, up to about 4.7 TB. Block blobs are made from blocks of knowledge which will be managed individually.
Append blobs are made from blocks like block blobs but are optimized for append operations. Append blobs are ideal for scenarios like logging data from virtual machines.
Page blobs store random access files up to eight TB in size. Page blobs store virtual disk drive (VHD) files and function disks for Azure virtual machines.
Blob storage:
Blob storage is a feature in Microsoft Azure that gives developers a chance to store unstructured information and data in Microsoft's cloud stage. This information can be gotten from anyplace on the planet and can incorporate sound, video, and content. Masses are gathered into "containers" that are attached to client accounts.
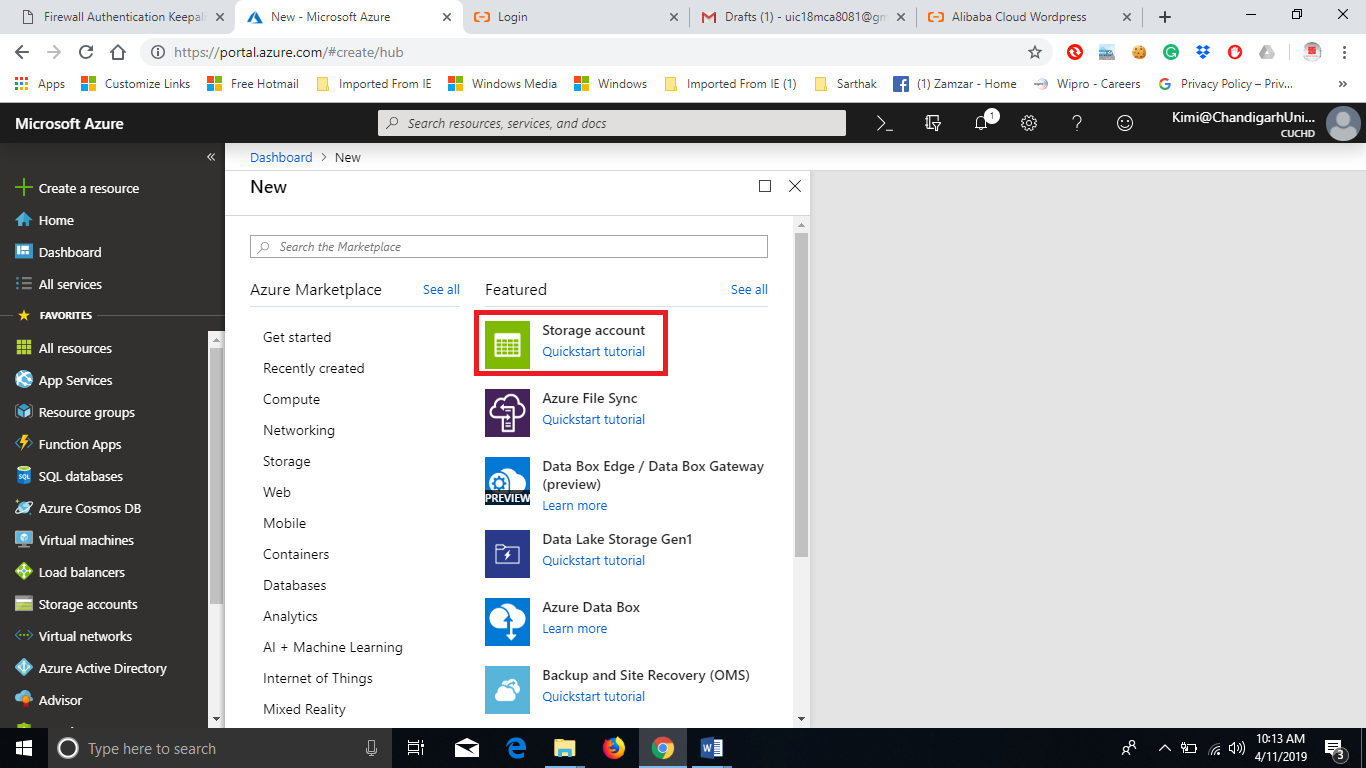
Step 1: Create a Blob Storage by clicking, New > Storage > Storage account – blob, file, table, queue.
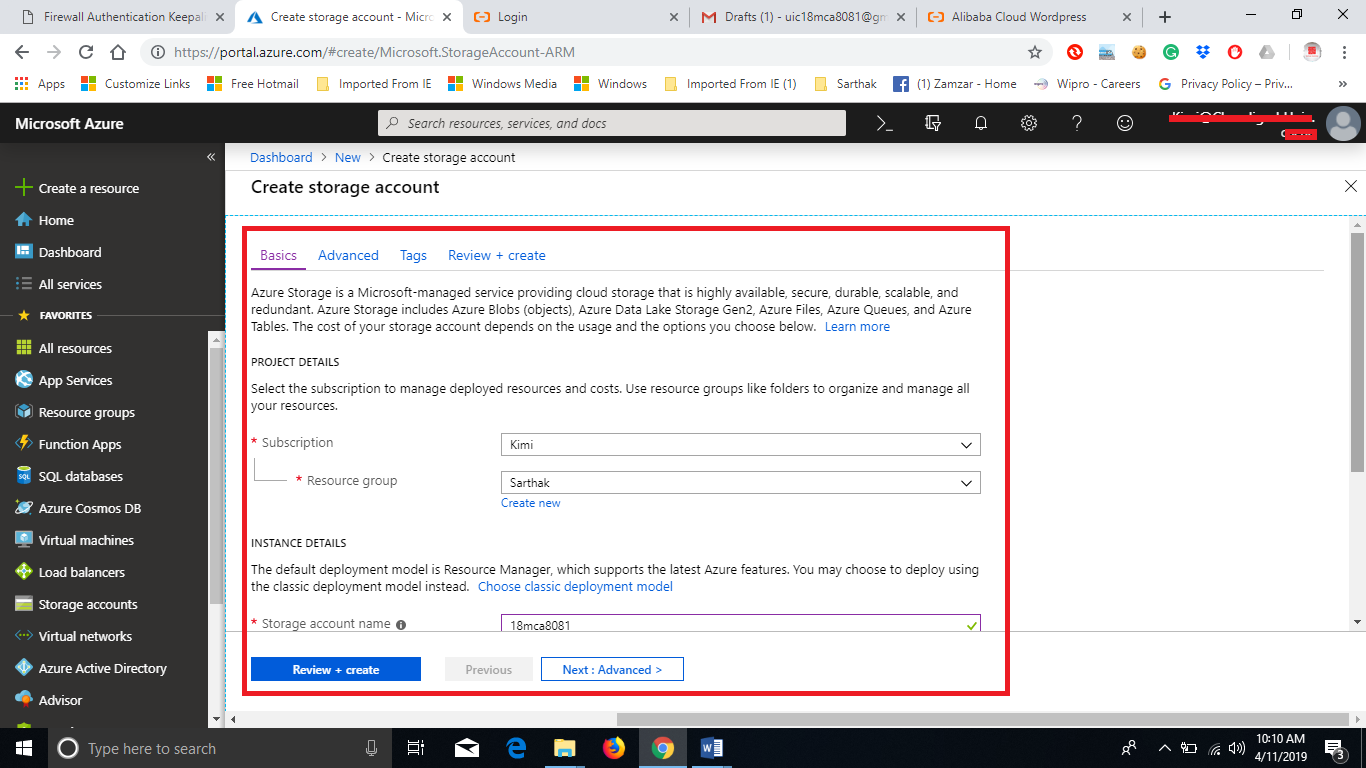
Step 2: Enter the name of the storage account, select the storage type as ‘Blob Storage’. Choose a Replication policy for the storage, here we are going to create it as Locally-Redundant storage that means the copies of storage will be created within a region.

Step 3: In order to store files, we need to create a Container for files. To do so, click on Containers in the Side menu as shown below.
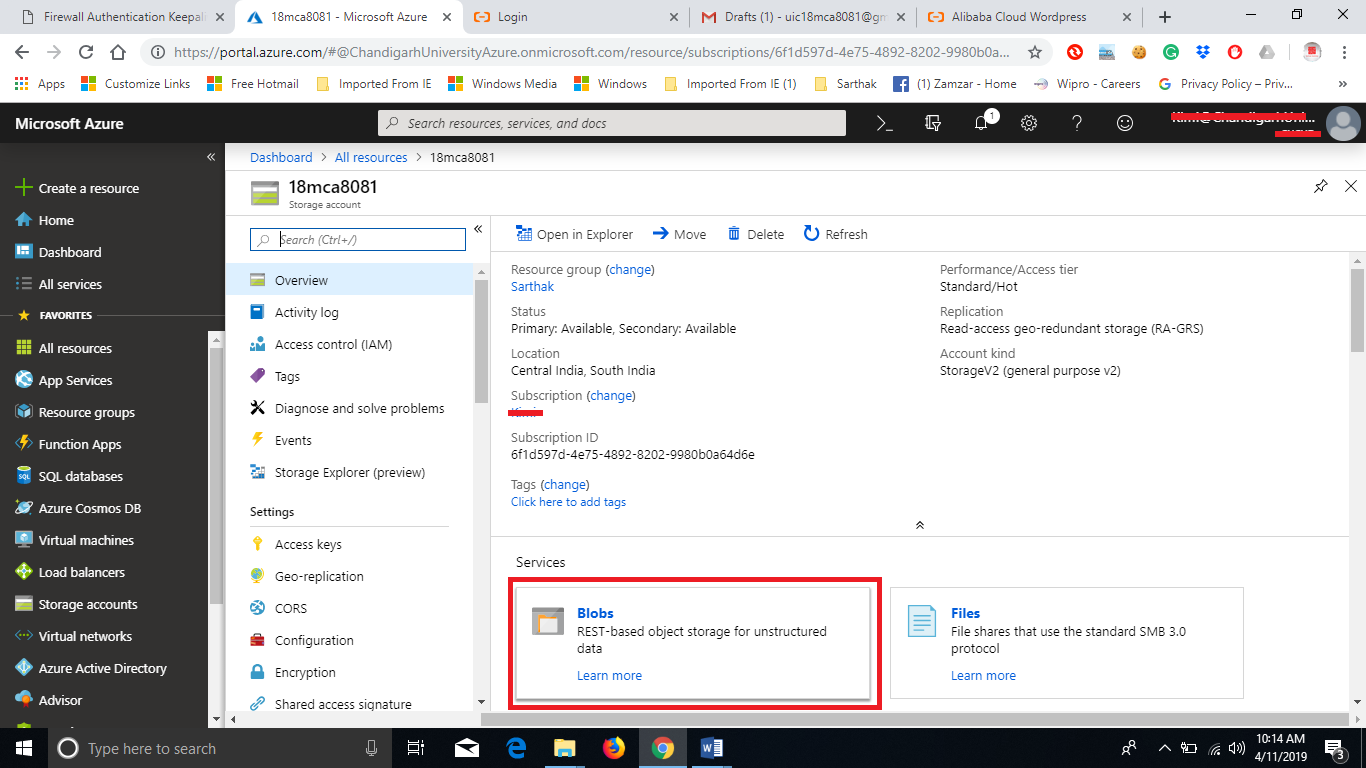
Step 4: Now, Click on the Add Container icon (highlighted in the figure), enter the container name, and click on Ok.

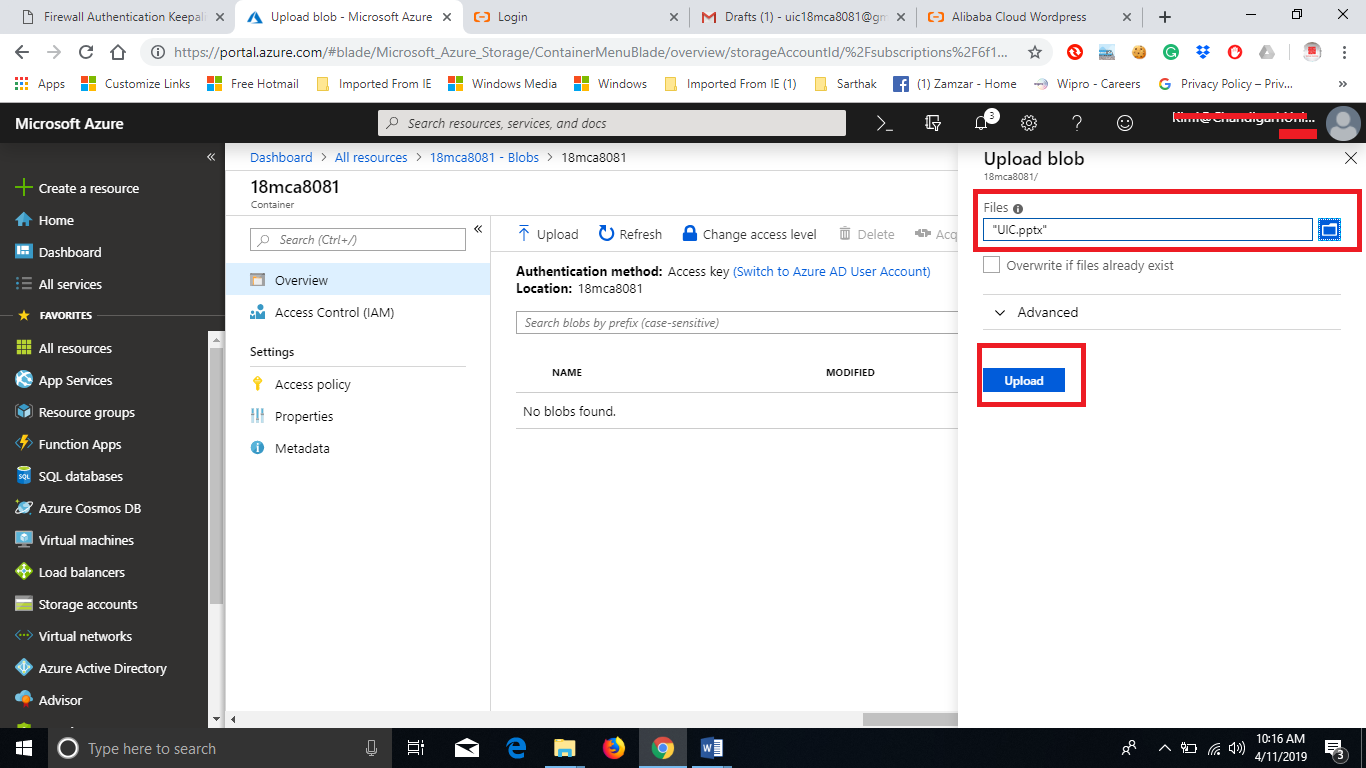
Step 5: Now, to upload a file click on the upload button a drawer window will open up. Select the file upload and select the file. Click on upload for uploading the file.
Step 6: The file will appear in the container as shown below. Now to access the file click on the file.

Step 7Now you will see a URL (as shown below), this can be used to access the file through a web browser, just copy it and paste it in your browser window.

Output:-

