


What is Azure Data Factory?
What is Azure Data Factory?
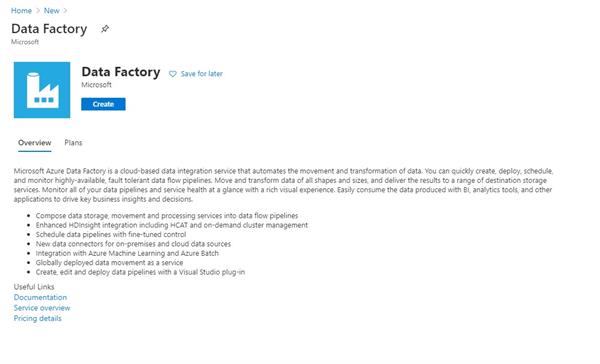
Azure Data Factory is a data ingestion and transformation service that allows you to load raw data from over 70 different on-premises or cloud sources. The ingested data can be cleaned, transformed, restructured, and loaded back into a data warehouse. After the data is in the data warehouse, it's ready to use for several analytical purposes.
Data Factory supports data workflow pipelines. These pipelines are a logical group of tasks and activities that allows end-to-end data-processing scenarios.
Create the required resources
To complete this module, you will need to deploy an Azure Data Factory instance and an Azure Databricks workspace in your Azure subscription.
Create an Azure Data Factory instance
- Go to the Azure portal.
- In the left menu, select + Create a resource.
- In the Search, the Marketplacebox, enter data factory and press Enter.
- Select Data Factory from the search results, and then select Create.
- In the New data factory page, use the following settings:
- Name: Enter a globally unique name, as indicated by a green checkmark.
- Subscription: Select the subscription you're using for this workshop.
- Resource Group: Choose Use existing, and then select the resource group for this workshop.
- Version: Select V2.
- Location: Select a region.
- Enable Git: Uncheck this option.
-
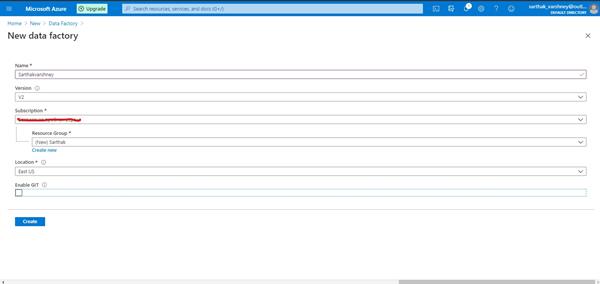
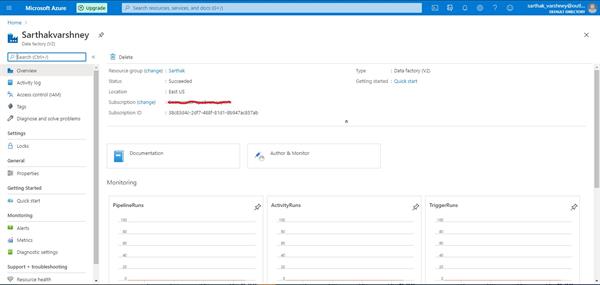
- Select Create to create your data factory.
Deploy an Azure Databricks workspace
- Click the following button to open the Azure Resource Manager template in the Azure portal. Deploy Databricks from the Azure Resource Manager Template
- Provide the required values to create an Azure Databricks workspace:
- Subscription: Selected the Azure Subscription in which to deploy the workspace.
- Resource Group: Leave at Create new and provide a name for the new resource group.
- Location: Select a location near you for deployment. For the list of regions supported by Azure Databricks, see Azure services available by region.
- Workspace Name: Provide a name for your workspace.
- Pricing Tier: Ensure premium is selected.
- Accept the terms and conditions.
- Select Purchase.
- The workspace creation takes a few minutes. During the workspace creation, the portal displays the Submitting deployment for Azure Databricks tile on the right side. You may need to scroll right on your dashboard to see the tile. There is also a progress bar displayed near the top of the screen. You can see either area for progress.
Create a cluster
- When your Azure Databricks workspace creation is complete, select the link to go to the resource.
- Select Launch Workspaceto to open your Databricks workspace in a new tab.
- In the left-hand menu of your Databricks workspace, select Clusters.
- Select Create Clusterto add a new cluster.
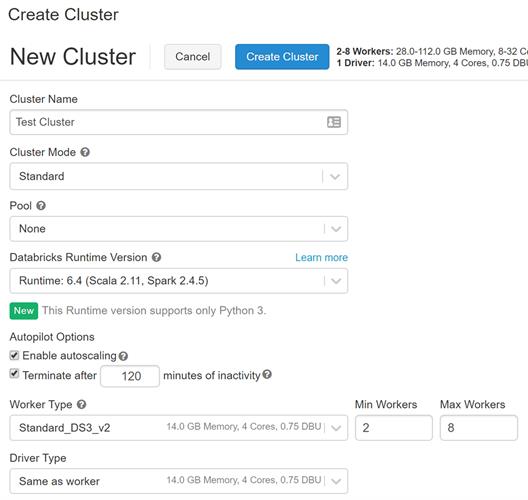
- Enter a name for your cluster. Use your name or initials to easily differentiate your cluster from your coworkers.
- Select the Databricks RuntimeVersion. We recommend the latest runtime and Scala 2.11.
- Select the default values for the cluster configuration.
- Select Create Cluster.
