


How to Create the First application in the React?
How to Create the first application in the React?
Before starting the procedure for creating the application, Why React? React is an open-source JavaScript library for creating dynamic UIs due to some facilities like it helps to break the app into small components so that working on one component may not affect other components and it is independent of the rest of the application and many more reasons.
There is an approach for creating React project: Using create-React-app, which is the best and easiest way of building a single-page application.
As Prerequisite, that you may previously install nodejs and npm(node package manager) on the system and it should be the latest version, nodejs version will be 12.18.1, and npm version will be 6.14.4 or above and also install code editor i.e. Visual Studio Code/ Sublime/Atom/Brackets or you may use CodeSandbox (It is online IDE).
Start with Installing nodejs software in your system. There are following steps:
Step1: Open the browser and search for nodejs. Click on it. https://nodejs.org/en/download/
Step2: With a new window, there will be installing options for all three OS i.e. Windows, Linux, and Mac.
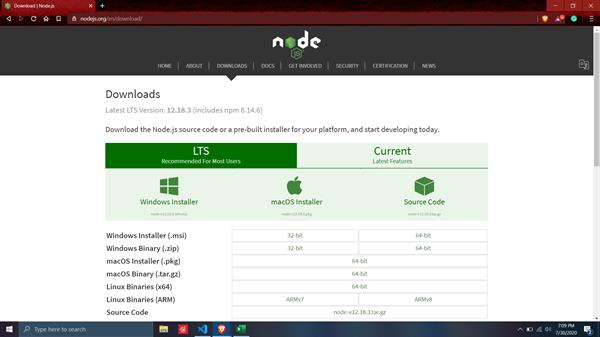
Step3: Click on Windows and within a few seconds nodejs setup and NPM install.
Step4: Click on the Setup icon and install the software on your computer.
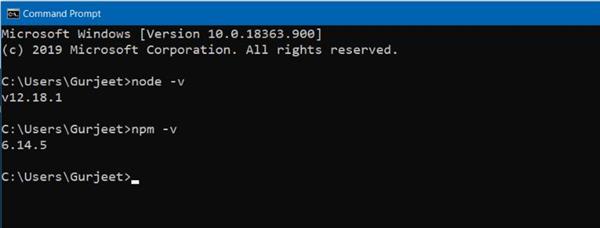
Step4: Using a command prompt, you may check the version of nodejs and NPM. To check the version, on the command prompt run node -v for nodejs version and npm -v for NPM version.
Now, Installing Code Editor Visual Studio code in your system. There are following steps:
Step 1: Open the browser and search for Visual Studio Code. https://code.visualstudio.com/download
Step 2: With a new window, there will be installing options for all three OS i.e. Windows, Linux, and Mac.
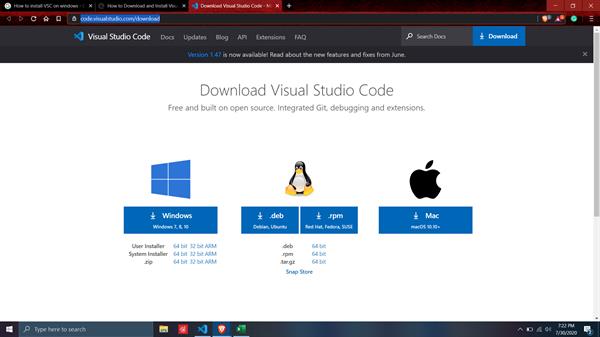
Step 3: Click on Windows and within a few seconds Visual Studio Code Stepup.
Step 4: Click on the Setup icon and install the software on your computer.
Installation of React
To create the application in the React, we have the react in the system. Installing the React using the “CRA tool” i.e. Create React App CLI tools expels every one of that complexities and makes React application basic in use.
To install it by using the following commands:
C:\Users\Gurjeet> npm install -g create-react-app
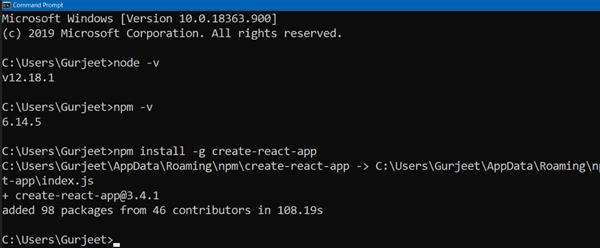
You don’t have to change the location, be the default for the React installation where -g helps us for using this app from anywhere.
Create the React Project
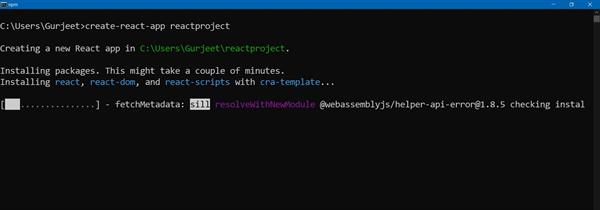
Step 1: Once React is installed, now we can create the new project in the react using the create-react-app command.
C:\Users\React> create-react-app reactproject
Where the react project is the Project name. You can change the directory for the project for easiness with the new folder name where the project saves.
Step 2: On the other hand, you may open the code editor and open the folder where you are working side by side with installing in command prompt.

Step 3: React Project is completely installed in the system. Now, we need a server to start to access the application.
To run: C:\Users\React> npm start
Step 4: At the default server, it will open on your localhost:3000.
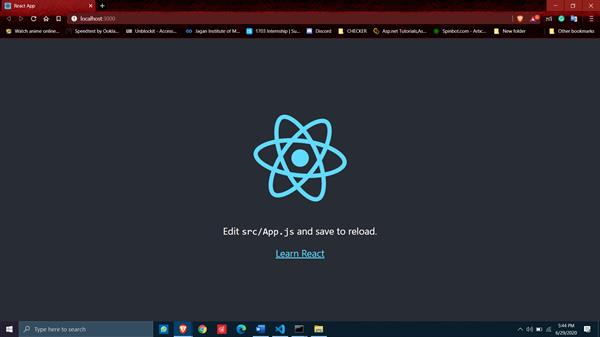
Finally, your react application created.
