


How to create own Run Application in Windows forms using C# ?
Windows Applications are applications that can run on the Windows platform. These applications are also termed as Desktop Applications and are developed for tablets, computer systems, laptops, etc. Windows application avails a Graphical user Interface providing a variety of features like adding controls and allowing the programmer to demonstrate their aesthetic sense by providing a creative presentation to the application. Windows applications support a number of controls like buttons, text boxes, labels, dialog boxes, etc. which allows the programmer to easily make modifications in terms of size, color, font, function, etc.
These controls have events associated with them which can be manipulated according to the need of enabling the programmer to enhance and ease the user-system interactivity. Each event has an event handler associated with it which contains the code of the task that will be performed on the occurrence of an event.
Windows Applications are developed using the Windows Forms class provided by the .Net Framework which contains various DLL ( Dynamic Link Library) assemblies to create the application. System.Windows.Form.dll assembly is used to create the Window Applications and System.Drawing.dll assembly is used to provide the presentable features to an application.
RUN APPLICATION FOR WINDOWS
Now we will learn to make the run application using the Windows Form application. Let’s get started.
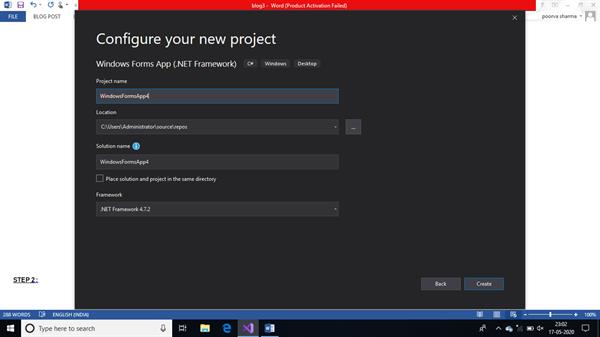
STEP 1: Open Visual Studio and start creating a new project. We have to select the Windows Form application in .Net Framework being a beginner then click next and name the project.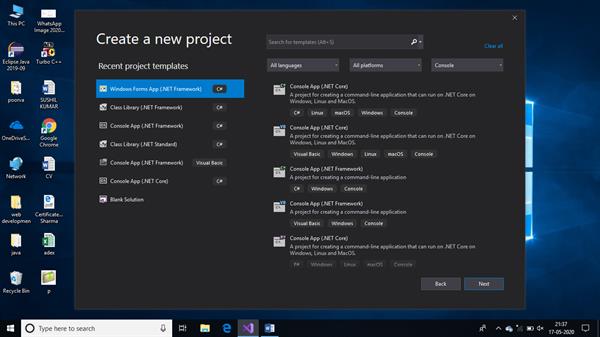
Now, Enter the Project, you wish to choose any relevant name for your project and click to create.
STEP 2: Now as we need to create the run application as present in systems, we wish to decrease the size of the form that appears. The size of the form can be adjusted using the arrows coming along the boundary of the form.
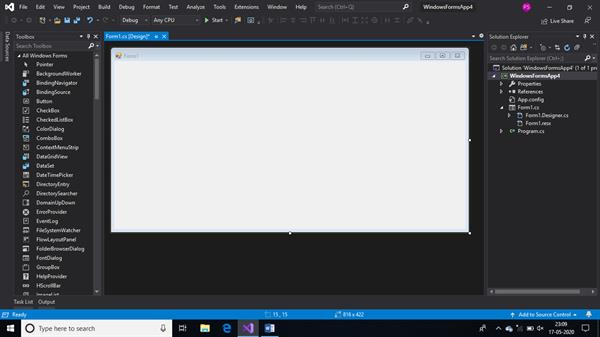
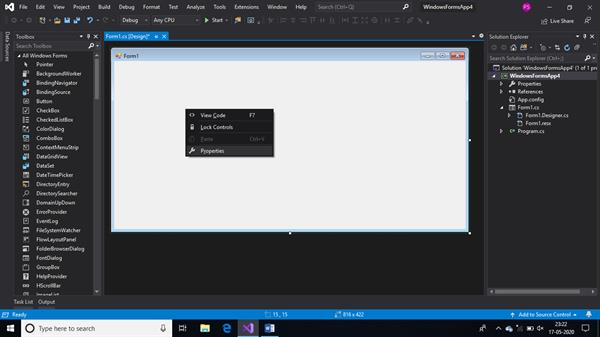
We can even change the dimensions of the form by right-clicking on the form and then as we click Properties, a dialog box appears providing a variety of features that can be adjusted. Select the size option and the form can be adjusted accordingly in terms of width and height.

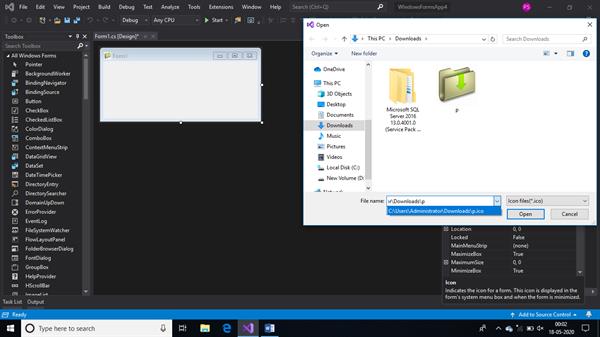
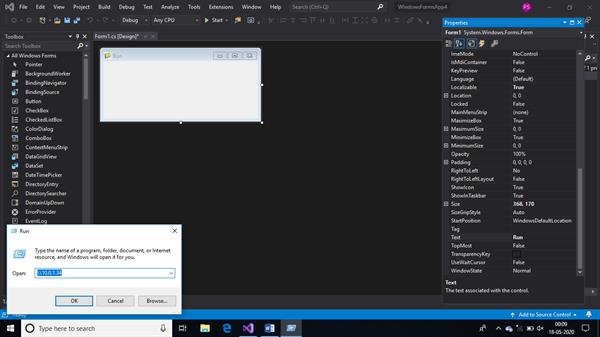
STEP 3: Now we insert an icon into our form which can be accessed from the properties again. The image inserted as icon should be a .ico file. If .ico file is not present in the system we can download any format image and it is converted into .ico file using the online converter. The Text appearing close to icon can even be changed by providing the content along with the text option in properties. 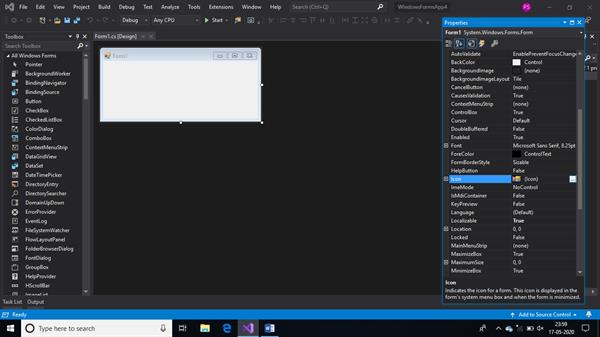
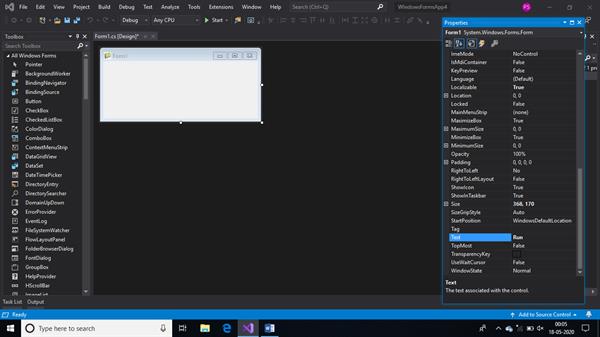
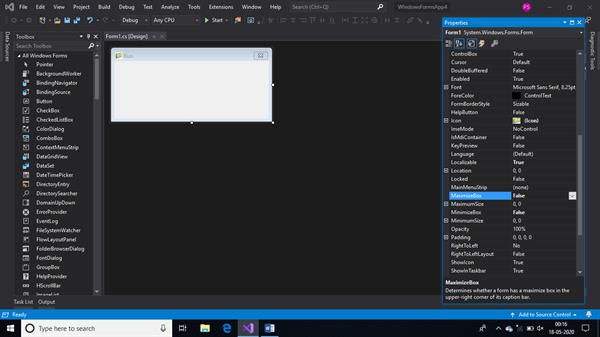
STEP 4: As we wish to make our windows application exactly like the run application present in the system we need to remove the maximize and minimize options from there by choosing false from the ‘MaximiseBox’ and ‘MinimiseBox’ from the properties.
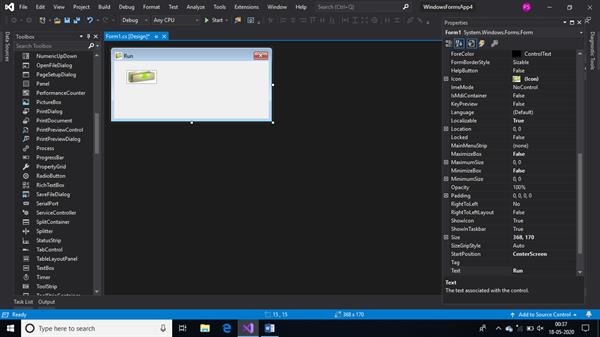
STEP 5: If we wish to see our form in the center of the screen after building the solution we can even select the ‘StartPosition’ to Center Screen from the properties window.
STEP 6: Now in order to add controls to the form like textbox, buttons, and label we can select them from the toolbox present in the left corner. Right-clicking that particular control will enable us to make changes in the features using the properties. If the toolbox does not appear on its own we can even pin it by clicking view from the top and then selecting toolbox. We can also insert the icon within the form by selecting ‘PictureBox’ from the toolbox and then selecting StretchImage and then importing the image we can insert the icon.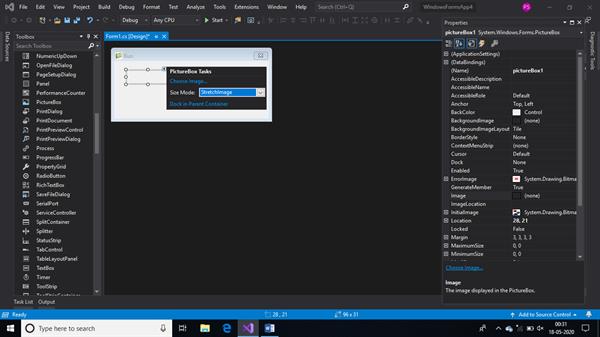
Now we have designed the structure but we need to provide the functions to the controls so that response can be given as soon as the event occurs. 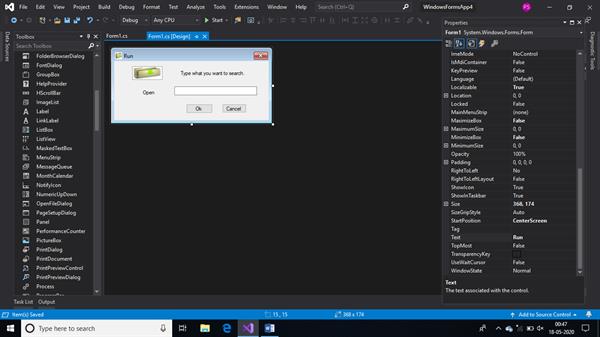
STEP 7: Now we double click on the cancel button and it directs us to the code of the cancel button. Here we can specify the task that could be performed as the button is clicked. We want the run application to stop by clicking the cancel button so we call exit( ) within the block of code.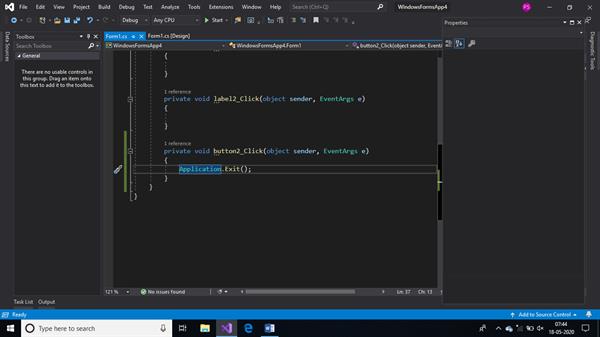
STEP 8: Now we double click on the Ok button to give action to it. But before that, we change the name of the textbox from properties for our convenience. Double-clicking on the ok button directs us to the block of code. Now we want the ok button to perform an action such that the data inputted in the textbox should be searched and provides the desired output. So the data of the textbox is stored in a variable and then we provide this data as a parameter to the start( ) of the process class which will search the data from the system and provides the output. Don’t forget to use the System.Diagnostics namespace in order to use the above-mentioned method.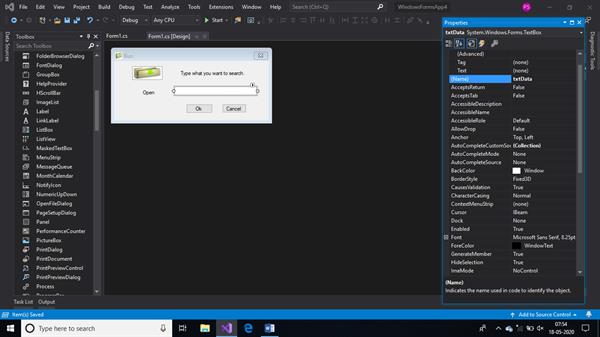
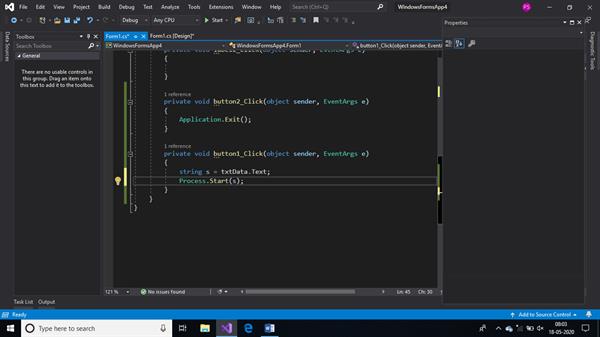
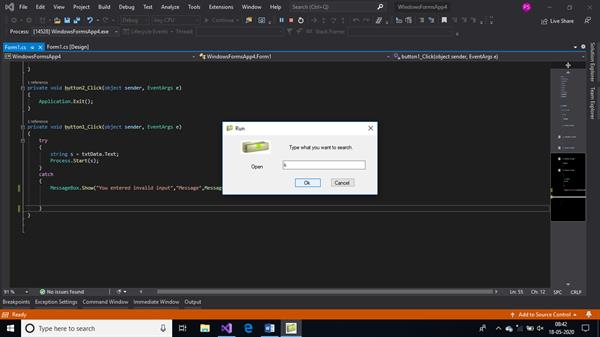
Now when we click on the Ok button our request for a process within the system would be accepted and the output would be produced. If we click the cancel button the run application will close. We can try and check the functioning of our own run application by building the solution by pressing F5.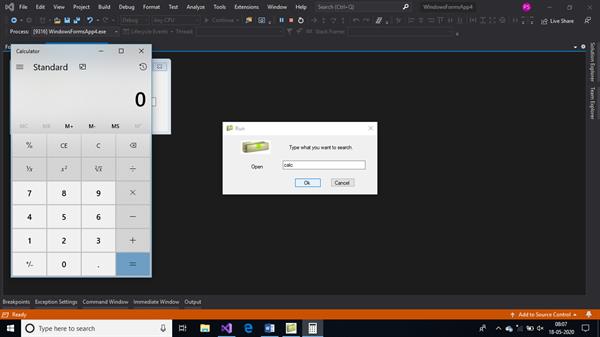
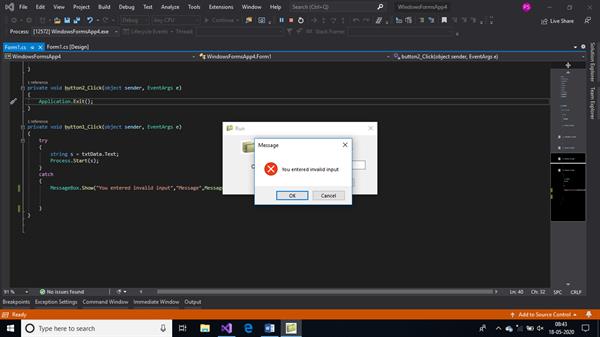
STEP 9: We should also consider the situation when the user enters an incorrect input or inputs a file that is not present in the system. This way our application can generate an exception so to handle that, we provide try-catch blocks within the block of code of ok button.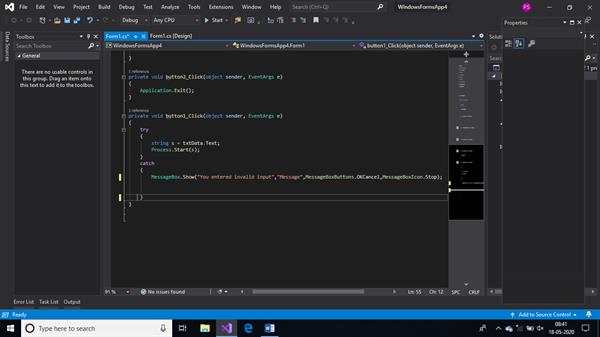
We can even run this application without Visual Studio once we check the path of the application by right-clicking on the Form.cs[Design] file which has an option as ‘open containing folder’.
CONCLUSION :
We have designed our Run application just like the one present in the systems. Using Windows Form Applications we can design many more GUI based applications.
