


How to Give guest users access in Azure Active Directory B2B?
How to Give guest users access in Azure Active Directory B2B
The external and internal developer teams want to work together, so you decide to create guest user access for the external developer team.
You'll use the Azure portal to invite business-to-business (B2B) collaboration users. You can invite guest users to an Azure Active Directory (Azure AD) organization, group, or application. After you invite a user, their account is added to Azure AD, with a guest user type.
After you add a guest user to the organization, send them a direct link to a shared app. Have the guest user open the redemption URL in the invitation email.
Add guest users to the organization
-
Sign in to the Azure portal.
-
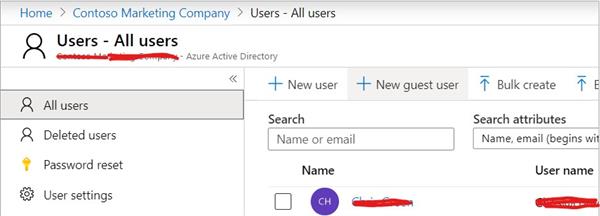
Select Azure Active Directory > Users > New guest user.
-
Invite users should be selected.
-
Enter a name and an email address that you have access to.
-
Select Invite. An invitation is sent to the email address you provided for the guest user.
-
Notice that the user now appears in the list of users and has Guest as the user type.
You've now added a guest user to the organization.
Add guest users to a group
- In your Azure AD organization, select Groups and then select the Developer group in the list of groups.
- Select Members > Add members.
- Search for the guest account you added to the organization.
- Select the account, and click Select.
- You now see the user in the list of members for this group.
You've now added a guest user to a group.
Add guest users to an application
-
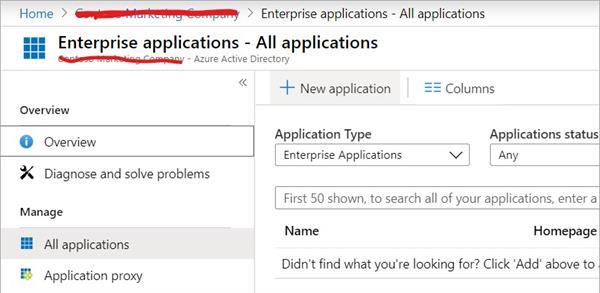
In your Azure AD organization, select Enterprise applications > All applications.
-
Select New application.
-
Under Add from the gallery, enter Twitter and add it.
-
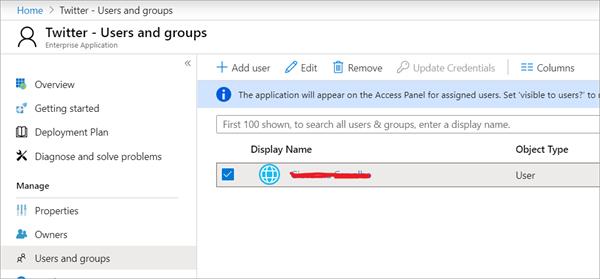
Select Users and groups > Add user.

-
In Add Assignment, select Users.
-
Select the guest user you added in the previous exercise, and click Select.
-
Select Assign. You now see the user in the list for this application.
-
To check that the correct access level is set, select the user in the list.
-
Select Edit.
-
Click Select Role > Default Access and Assign to make sure they have the correct access.
-
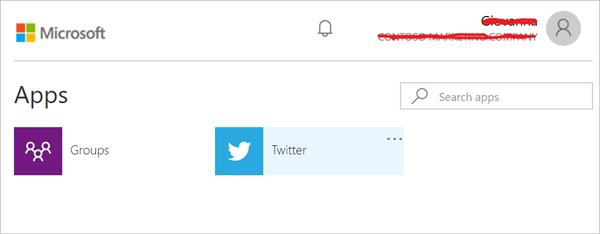
When the invitation arrives, the user accepts it and can then access the application.
You've now added a guest user to an application.
Resend invitations to guest users
If the guest user didn't receive the first email invitation, you can resend an invitation email.
-
In your Azure AD organization, select Users.
-
Select the user.
-
Select the Resend invitation.
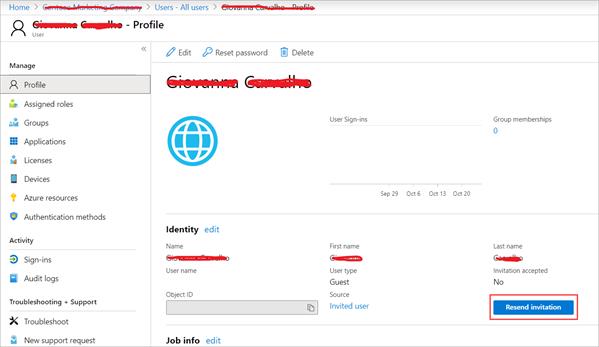
You've now resent an invitation to a guest user.
