Getting Start With Azure and Visual Studio
This is a new article for users who want to learn Microsoft Azure from scratch. Let's start with a step by step approach.
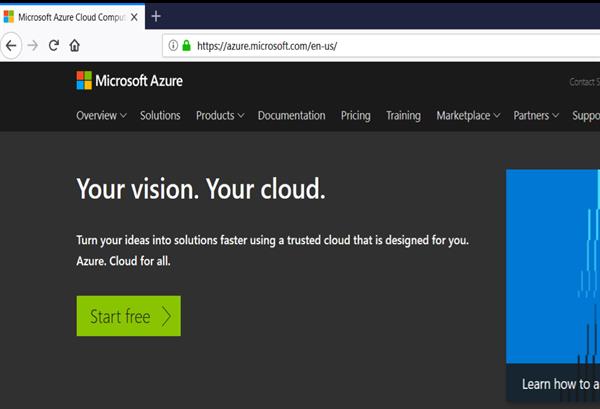
Step 1: Go to https://azure.microsoft.com/en-us/ and create a free Microsoft Azure Account.
Step 2: When you log in Microsoft Azure with any Microsoft Account like Outlook, Live or other, you will get an Account.
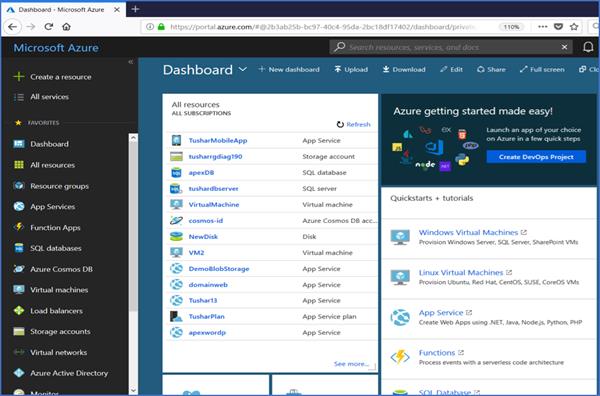
Step3: Go to https://portal.Azure.com/ and log in, Now you can see the image in the following portal.
Now you can manage your Azure portal from web account or directly from your Visual Studio using Azure SDK. If you are using VS 2017, download Azure SDK first and after installing Azure SDK, your Visual Studio Server Explorer will be visible.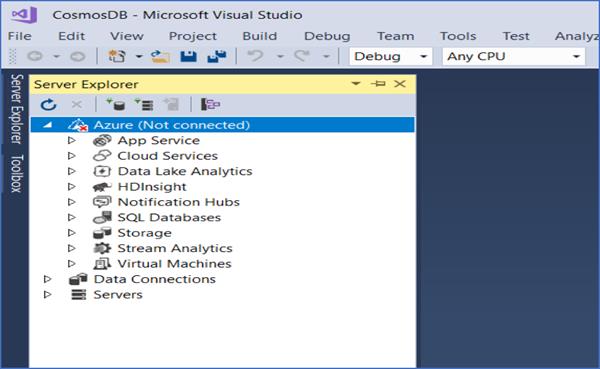
Step 1: Right Click on SDK and click ―Connect to Microsoft Azure Subscription. 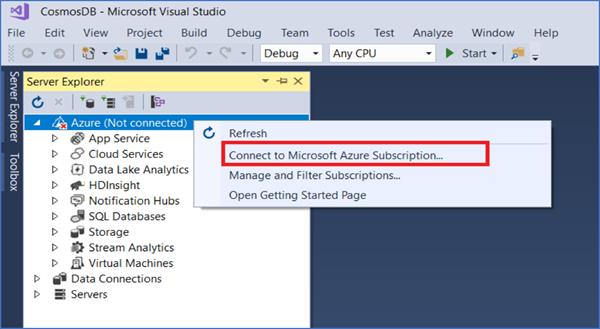
It will open a window to log in Microsoft Azure Account.
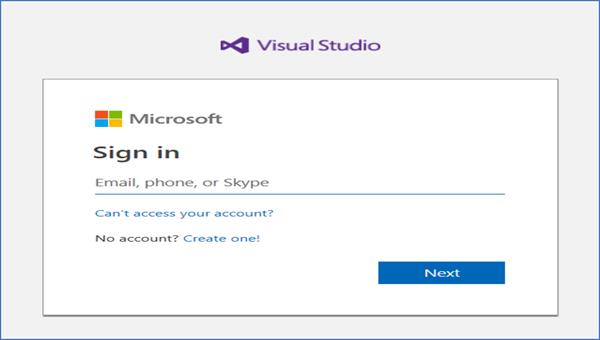
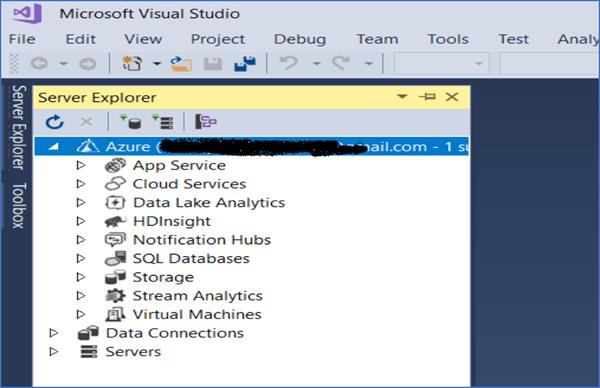
Step 2: Enter your Microsoft Account Id on which you have Azure Subscription, then password details and press enter to Sign In. After Signing up you will get this
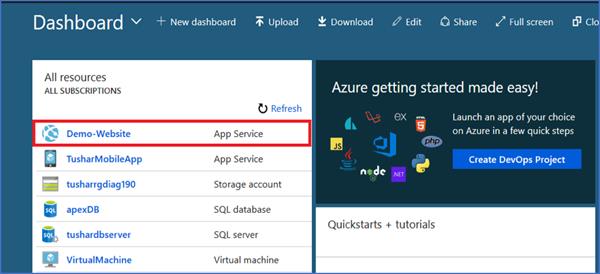
Now, we will create a new website in your Azure Account by Microsoft Azure Web Portal
Step 3: Create website from Web Portal, so let’s go to the web portal and see the CREATE A RESOURCE button on the left side top and click on it.
- Click WEB, then Web App
- Enter a URL for Website on which you need to host your website and select APP SERVICE PLAN/ LOCATION.
- Enter App Service Plan name, Location and Pricing Tier.
- Click on ok.
- Click on the plan Whatever you just now chose
- Click on create

Now the website is ready to use.
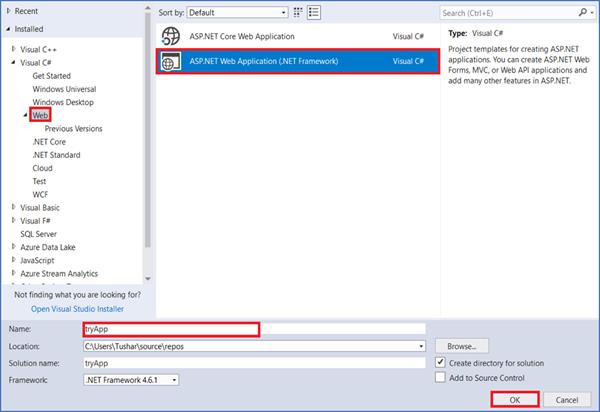
Create a Web Project in Visual Studio to host on Web site that is already created on Azure Account. Open Visual Studio, File, and then New Project and select Web. After that click ASP.NET Web Application and press OK.
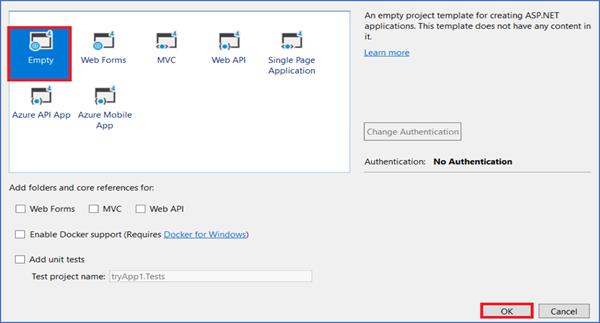
Select Empty and click ok
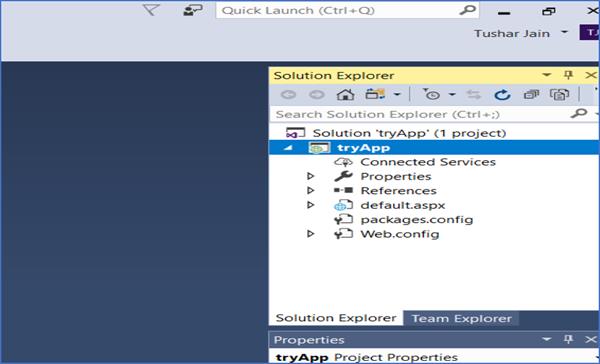
Solution Explorer tryApp (Name of the Project) will be created
Open Solution Explorer now and right-click on Project, then add any Default page to View the Output.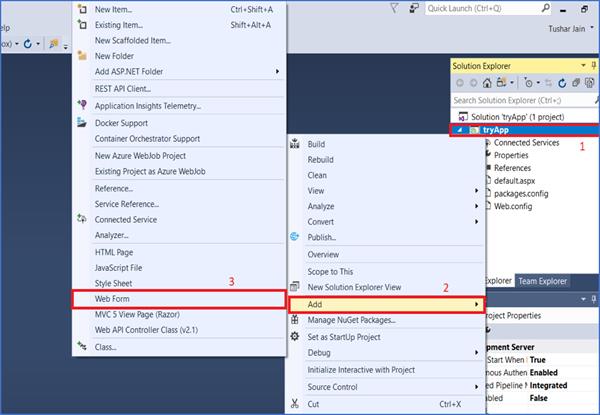
Write any name for view page.

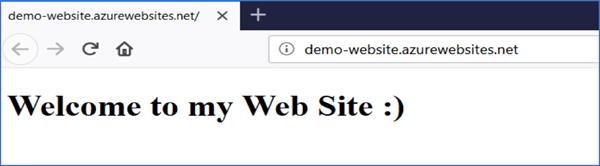
For example, welcome message on the page for testing.

If I run this web application on the local system, the output will be the following:
Now upload this to a web app in Azure.
Right click on the project and find the link Publish...
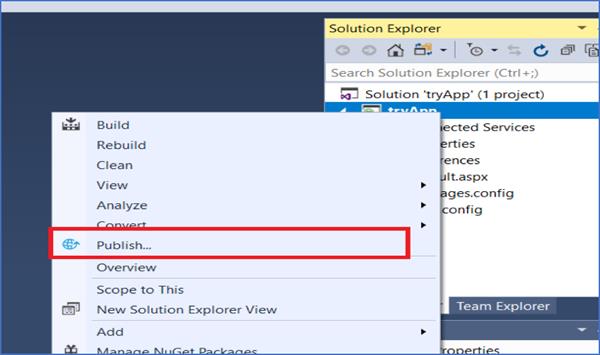
Select the publish target select type and if you want to publish on Microsoft Azure, select the first link in the following window and click Publish button.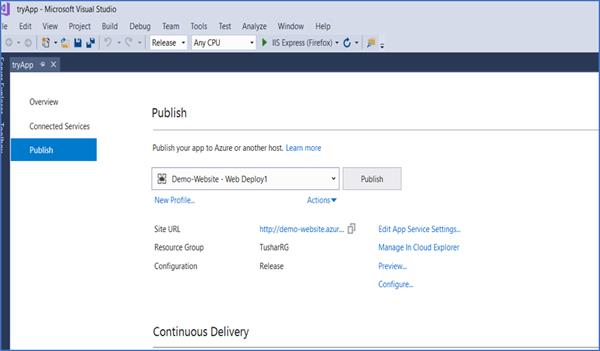
From here either you can create a new App Service or you can select existing. Since I have already created new so, I have selected existing.
Select your website name from the dropdown where you need to upload.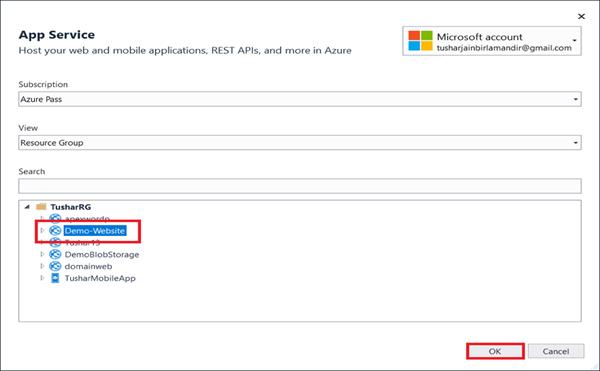
Now see the upload progress in the output window.
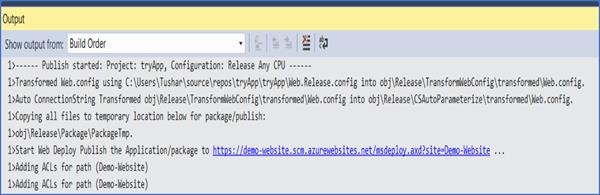
After Publish succeeds it will directly open the URL in the Web Browser. Now you can check this link anywhere or any device like mobile.