


Create and access File Storage in Azure.
In This Article, we'll Create and access file Storage in Azure, So you just need to follow the Following Steps along with me and I hope you'll be able to do the same. First, you need to understand what is azure and it services if you new to Microsoft Azure, so follow this Article:
File Storage: AzureFile Storage is designed to help a wide range of utilization cases, including the following: Migrate existing applications to the cloud. Share server information and data crosswise over on-premises and cloud. Integrate modern applications with Azure File Storage. Streamline facilitating High Availability (HA) workload data.
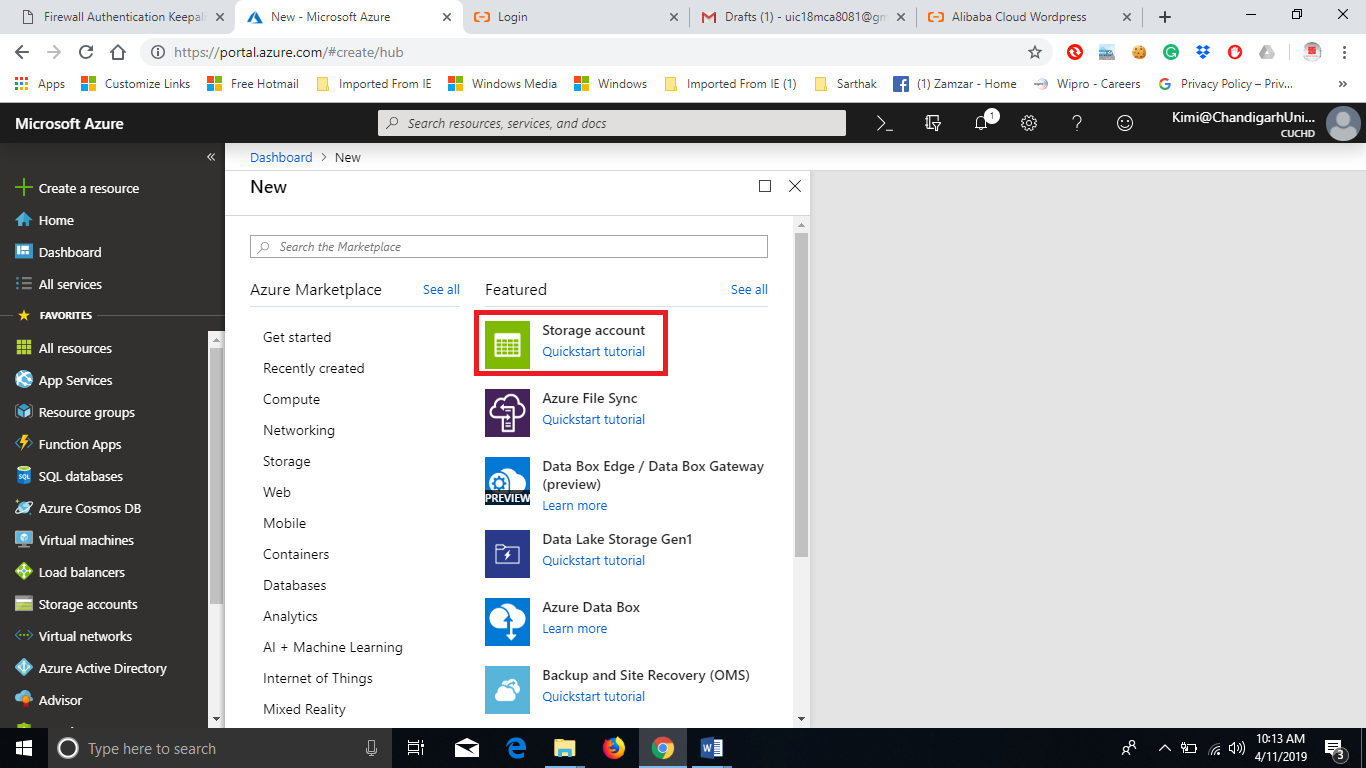
Step 1: Create a Blob Storage by clicking, New > Storage > Storage account – blob, file, table, queue.
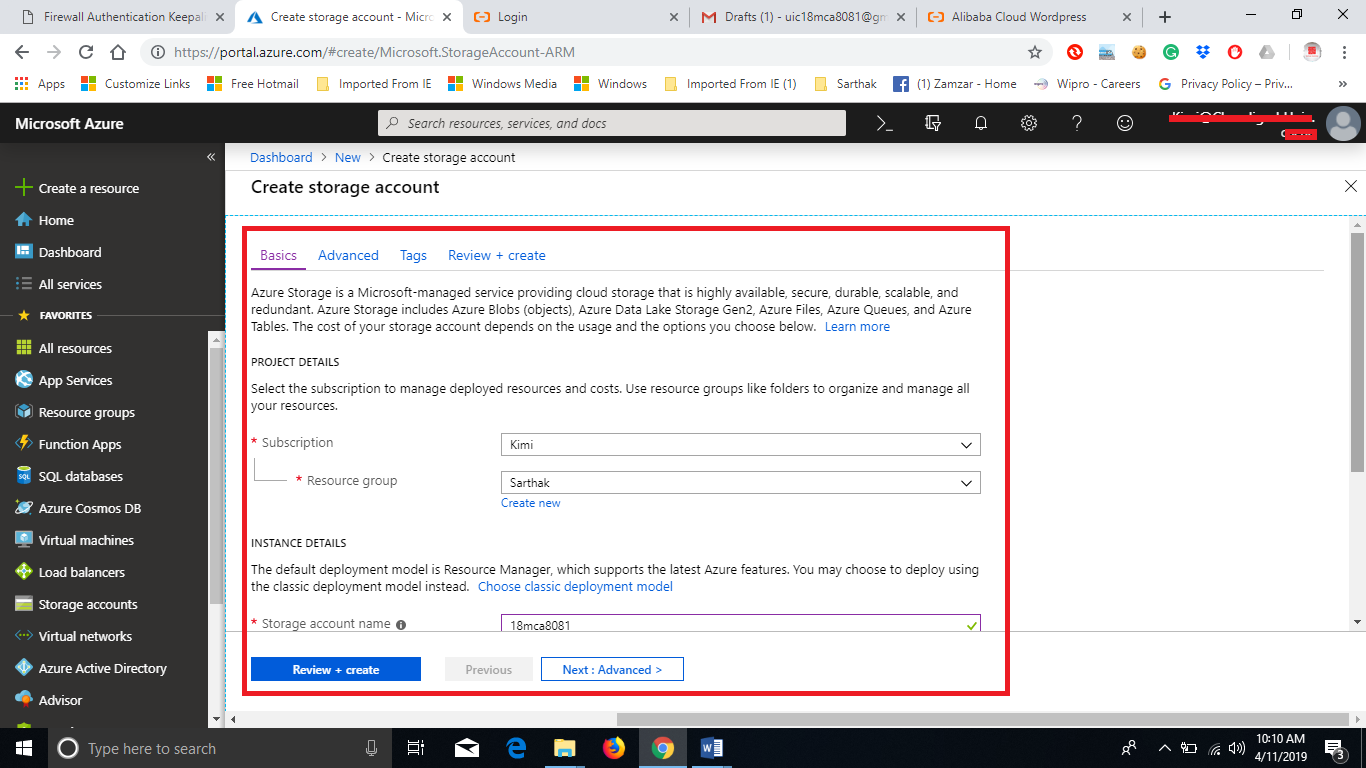
Step 2: Enter the name of the storage account, select the storage type as ‘Blob Storage’. Choose a Replication policy for the storage, here we are going to create it as Locally-Redundant storage that means the copies of storage will be created within a region.

Step 3: In order to store files, we need to create a Container for files. To do so, click on Containers in the Side menu as shown below. Create a Blob Storage by clicking, New > Storage > Storage account – blob, file, table, queue.

Step 4Now, File service dialog will open up, select the file share option in it and enter the name you want to give to your Virtual Hard Drive and in Quota set its size (in GB) and Click OK.

Step 5: Now, to upload a file click on the upload button a drawer window will open up. Select the file upload and select the file. Click on upload for uploading the file.

Step 6: To connect the File Service to your computer, click on Connect and select the Drive letter in the window opened. Now copy the command for command prompt.

Step 7: Now open a command prompt and paste the command on it to attach the File Service and hit Enter to execute.

Step 8: As soon as the command will get executed the File Storage will appear in your file explorer. Now you can use it as your local storage.

Output:

