


Azure Point to Site VPN Connectivity
Azure Point to Site VPN Connectivity
A Point-to-Site (P2S) VPN gateway connection lets you create a secure connection to your virtual network from an individual client computer. A P2S connection is established by starting it from the client computer. This solution is useful for telecommuters who want to connect to Azure VNets from a remote location, such as from home or a conference. P2S VPN is also a useful solution to use instead of S2S VPN when you have only a few clients that need to connect to a VNet
In order to configure Point to Site connectivity, we need the following Azure components.
- Azure Vnet
- Azure Virtual Network Gateway
- Azure VM (for testing) without Public IP address
- SSL certificate for Authentication/Validation
- Let us create a new Virtual network first.
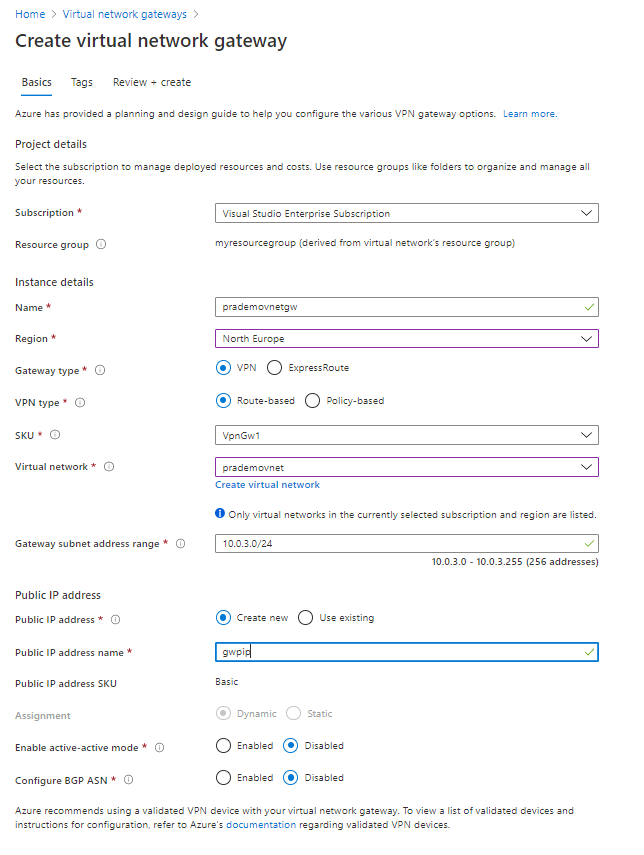
I have created a new Virtual Network with range on 10.0.0.0/16 and Subnet: 10.0.0.0/24
2. Next, let us create a new Virtual Network Gateway → while creating it is going to create a new Subnet with the name “Gateway Subnet”
3. Next, we need to Generate a Root and Child SSL certificate, in order to do so open Powershell on your local machine/Laptop → type the below command
$cert = New-SelfSignedCertificate -Type Custom -KeySpec Signature `

-Subject “CN=vnetgwrootcert” -KeyExportPolicy Exportable `

-HashAlgorithm sha256 -KeyLength 2048 `

-CertStoreLocation “Cert:\CurrentUser\My” -KeyUsageProperty Sign -KeyUsage CertSign
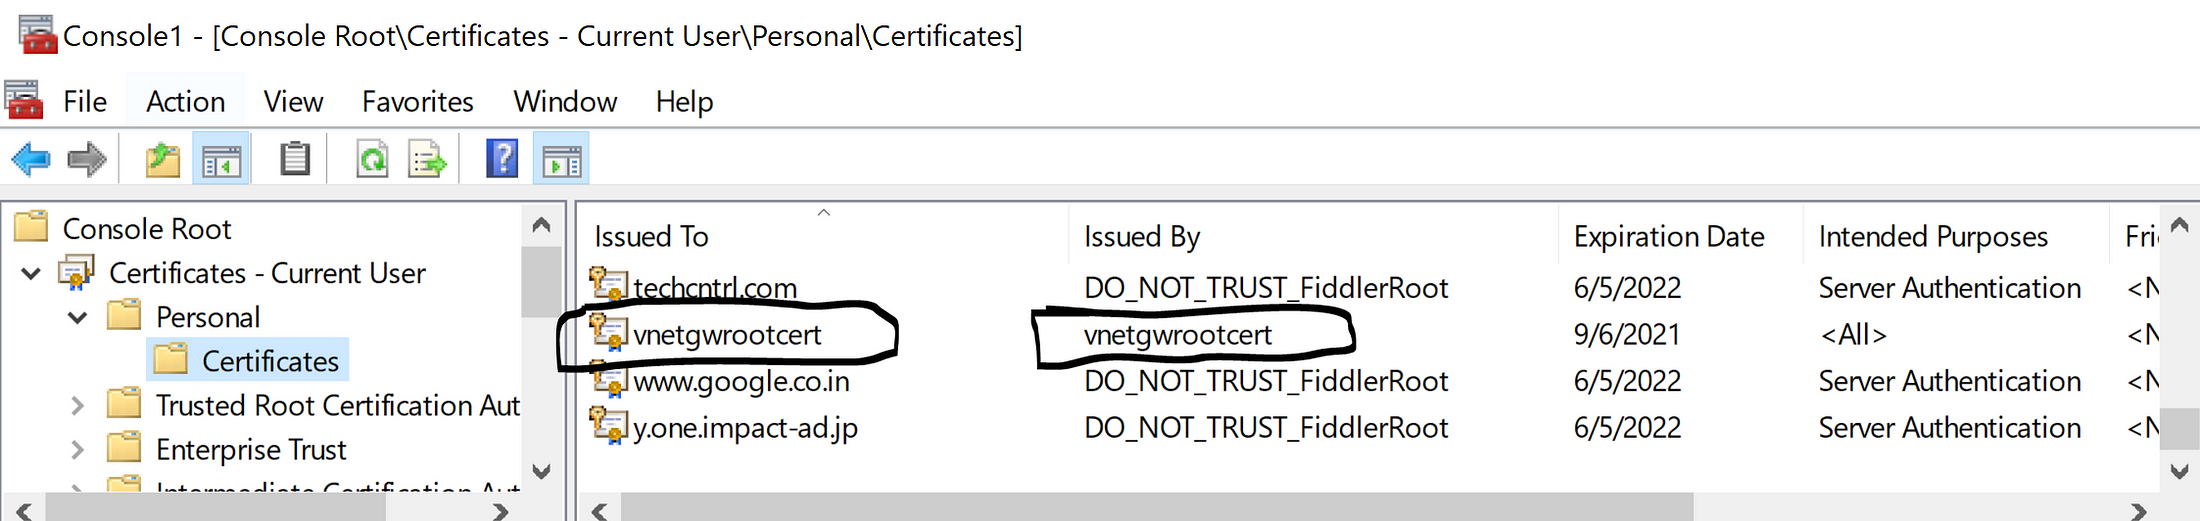
this command is going to generate a root certificate and it is going to store it in my personal certificate store
Now let's generate a Child SSL certificate as well
New-SelfSignedCertificate -Type Custom -DnsName P2SChildCert -KeySpec Signature `
 -Subject “CN=vnetgwChildCert” -KeyExportPolicy Exportable `
 -HashAlgorithm sha256 -KeyLength 2048 `
 -CertStoreLocation “Cert:\CurrentUser\My” `
-Signer $cert -TextExtension @(“2.5.29.37={text}1.3.6.1.5.5.7.3.2”) 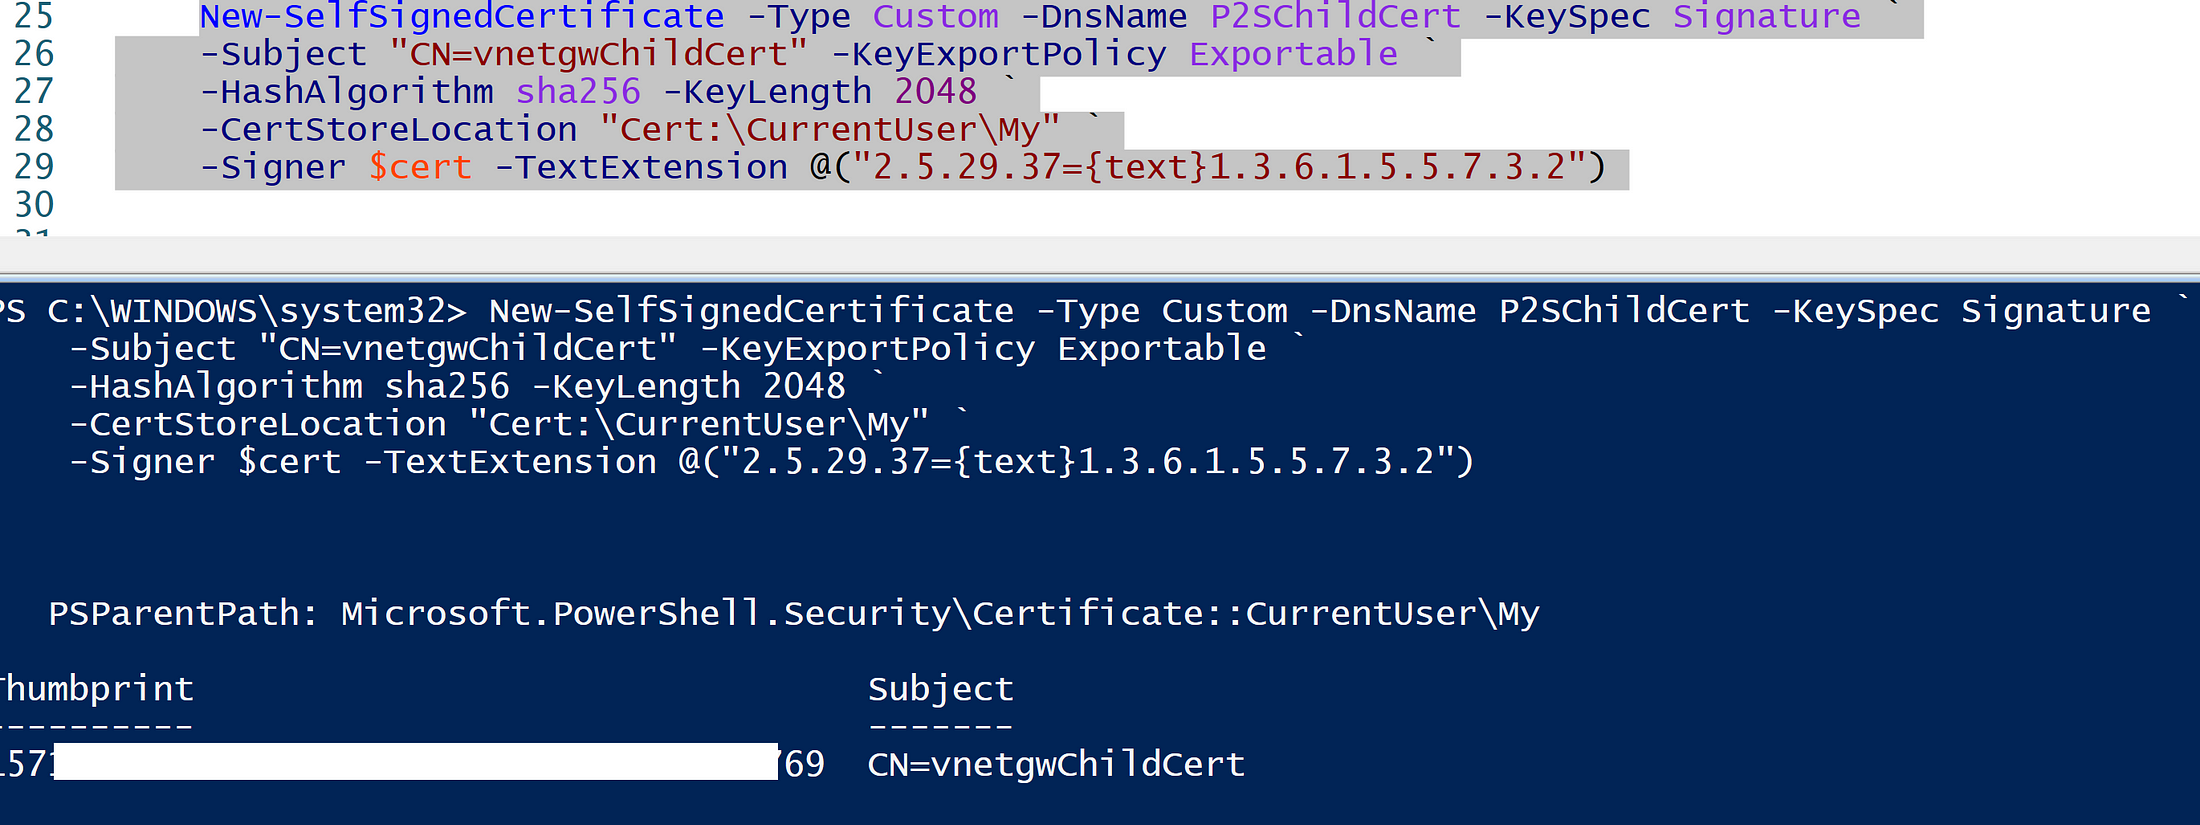
Now we should be seeing both Root and Child certificate in my certificate store

4. Next, we need to generate .pfx file from the Root certificate which is going to be used for Point-to-Site VPN Connectivity. So I am going to right-click on “vnetgwrootcert” → All tasks →export → Select “No, do not export the private key” → Select “Base-64 encoded X 509 (.cer) → Next → Save the file onto your desktop.
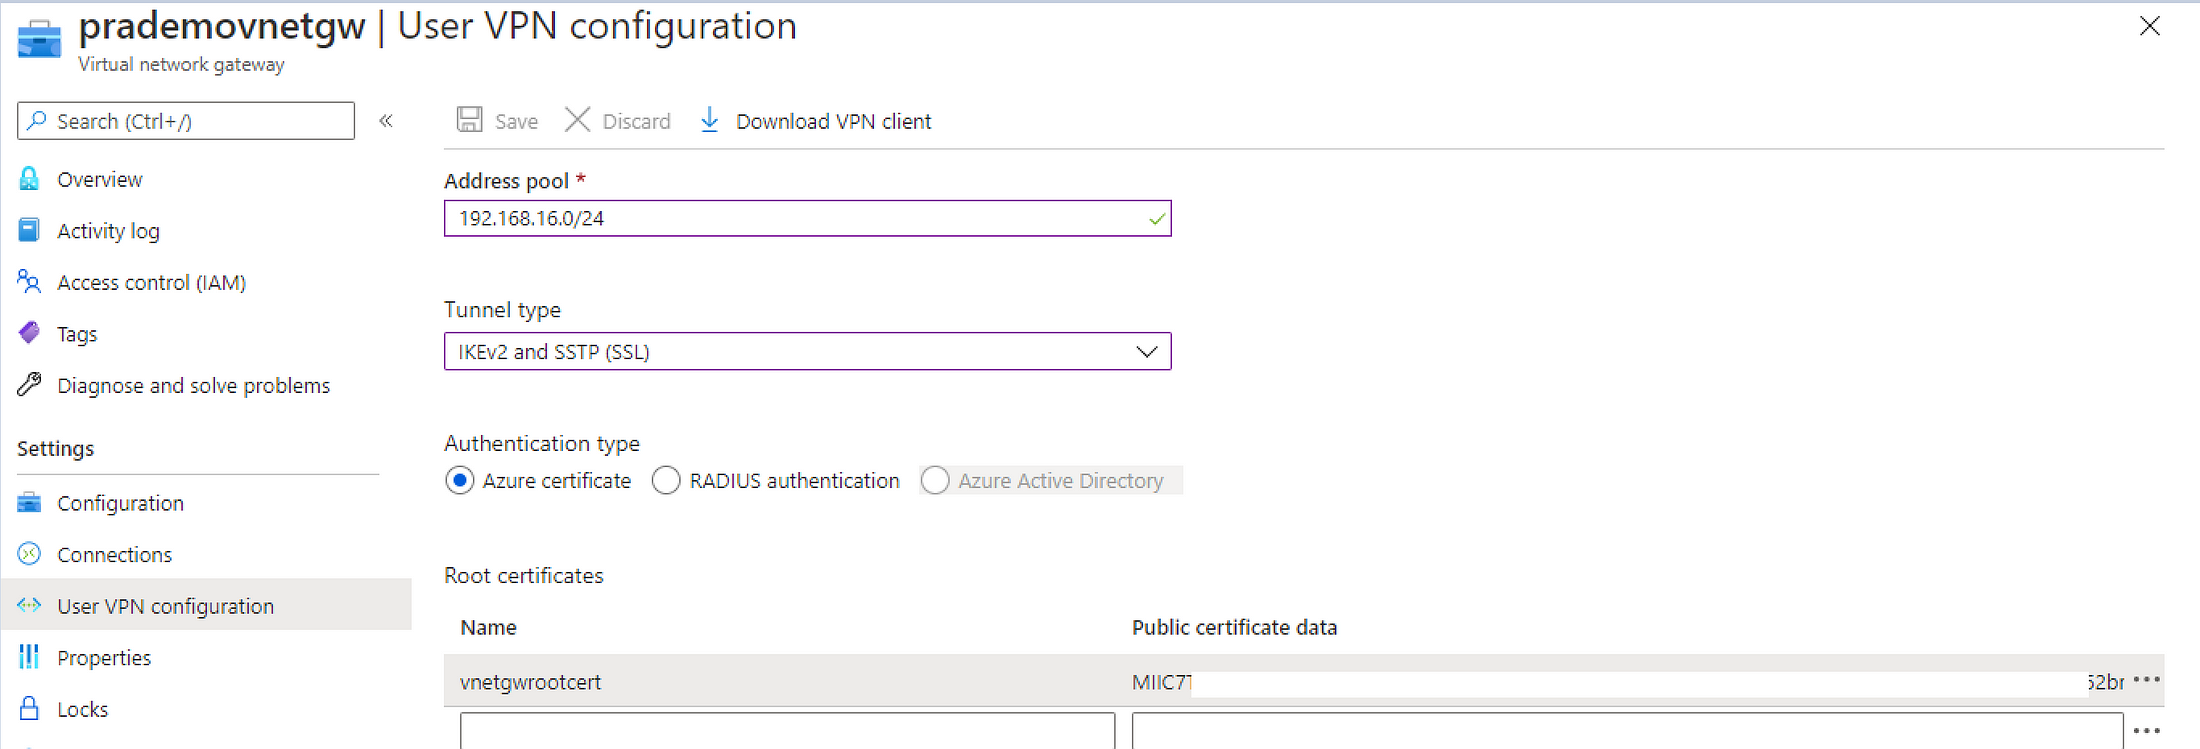
5. Now let's configure Vnet gateway for Point to site → Open Virtual Network Gateway → Click on “Use VPN Configuration” → click on “Configure Now”
first, you need to provide an address pool → which is going to be the Private IP address of your Firewall → so in our case I will be selecting “192.168.16.0/24”
Select Tunnel type → “IKEv2 and SSTP(SSL)
Select Authentication Type → in our case as we want to authenticate using an SSL root certificate → so I will be selecting “Azure Certificate”.
Next, provide the root certificate name → “some name” → for public certificate data → we need to copy earlier exported certificate → so right-click on recently saved certificate → open with notepad → once you have to make sure copy the base string(s) between
— -BEGIN CERTIFICATE— — and — END CERTIFICATE —
6. Now for testing lets go ahead and create a new Virtual machine without a Public IP address
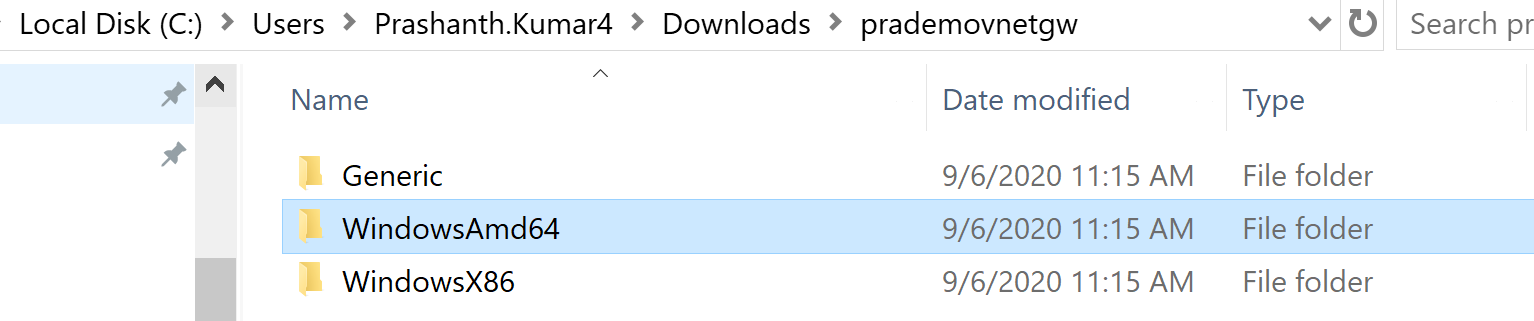
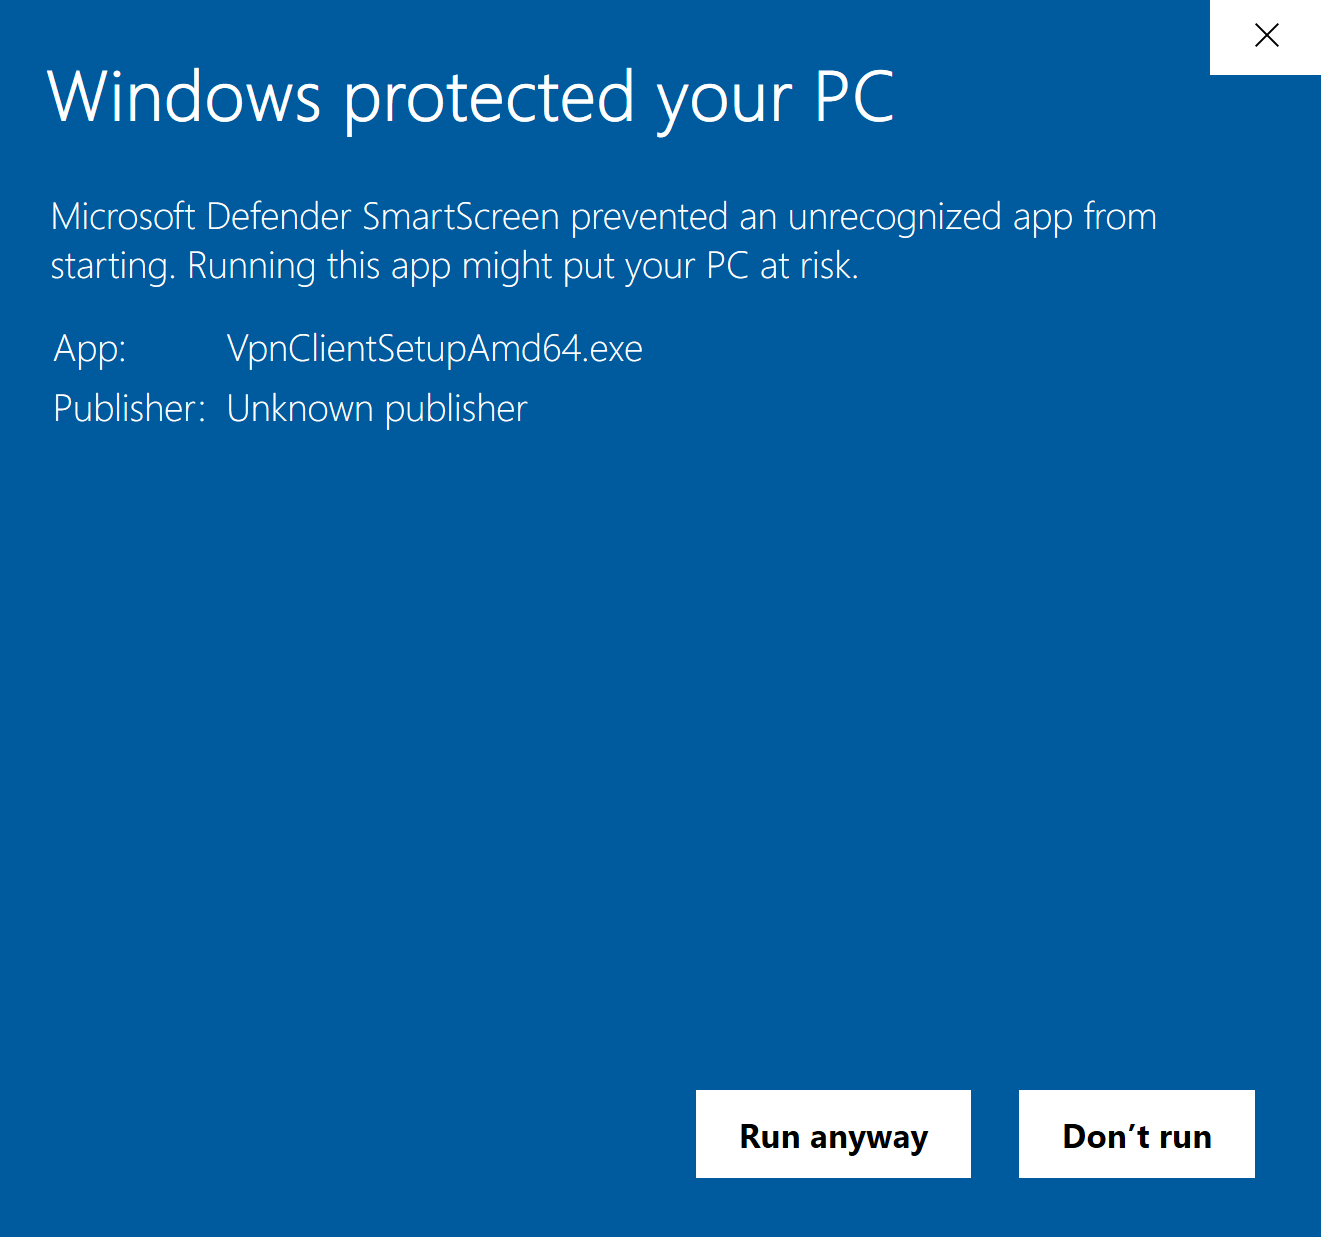
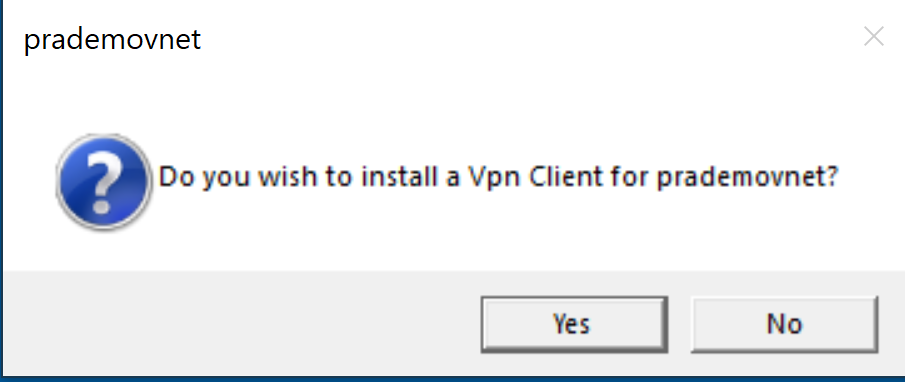
7. Now let's go back to Virtual Network Gateway → click on Download VPN client. Once it is download extract the zip file → Open the WindowsAMD64 folder → double click on “VpnClientSetupAmd64” to install
Once the installation completes this new VPN client is going to show in your VPN settings.

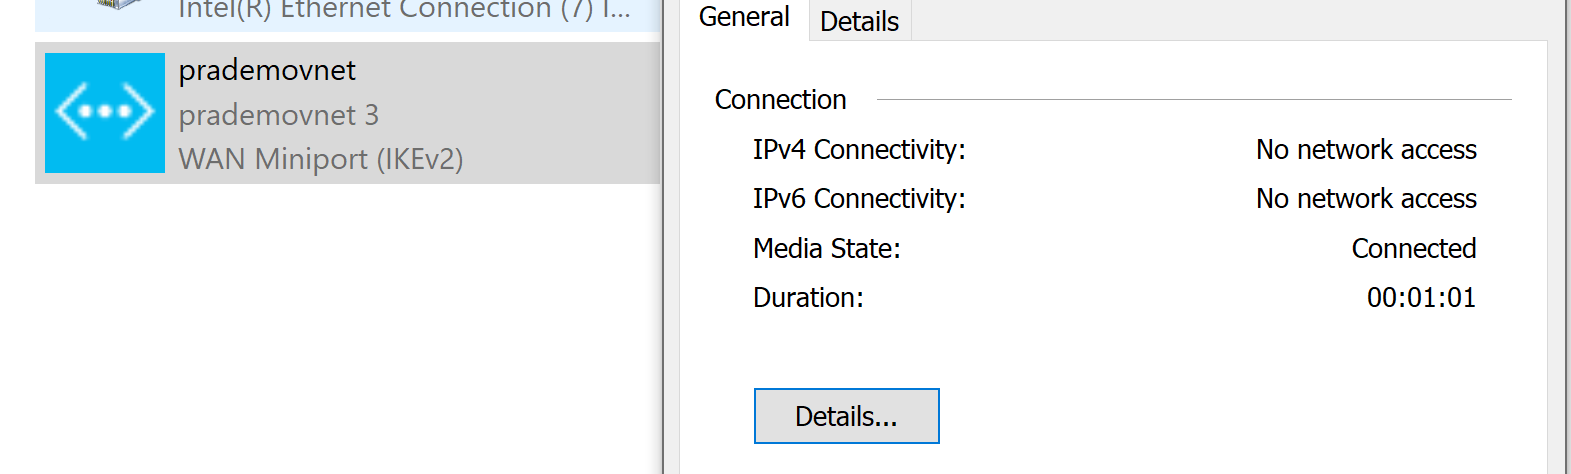
Now click on prademovnet → click to connect
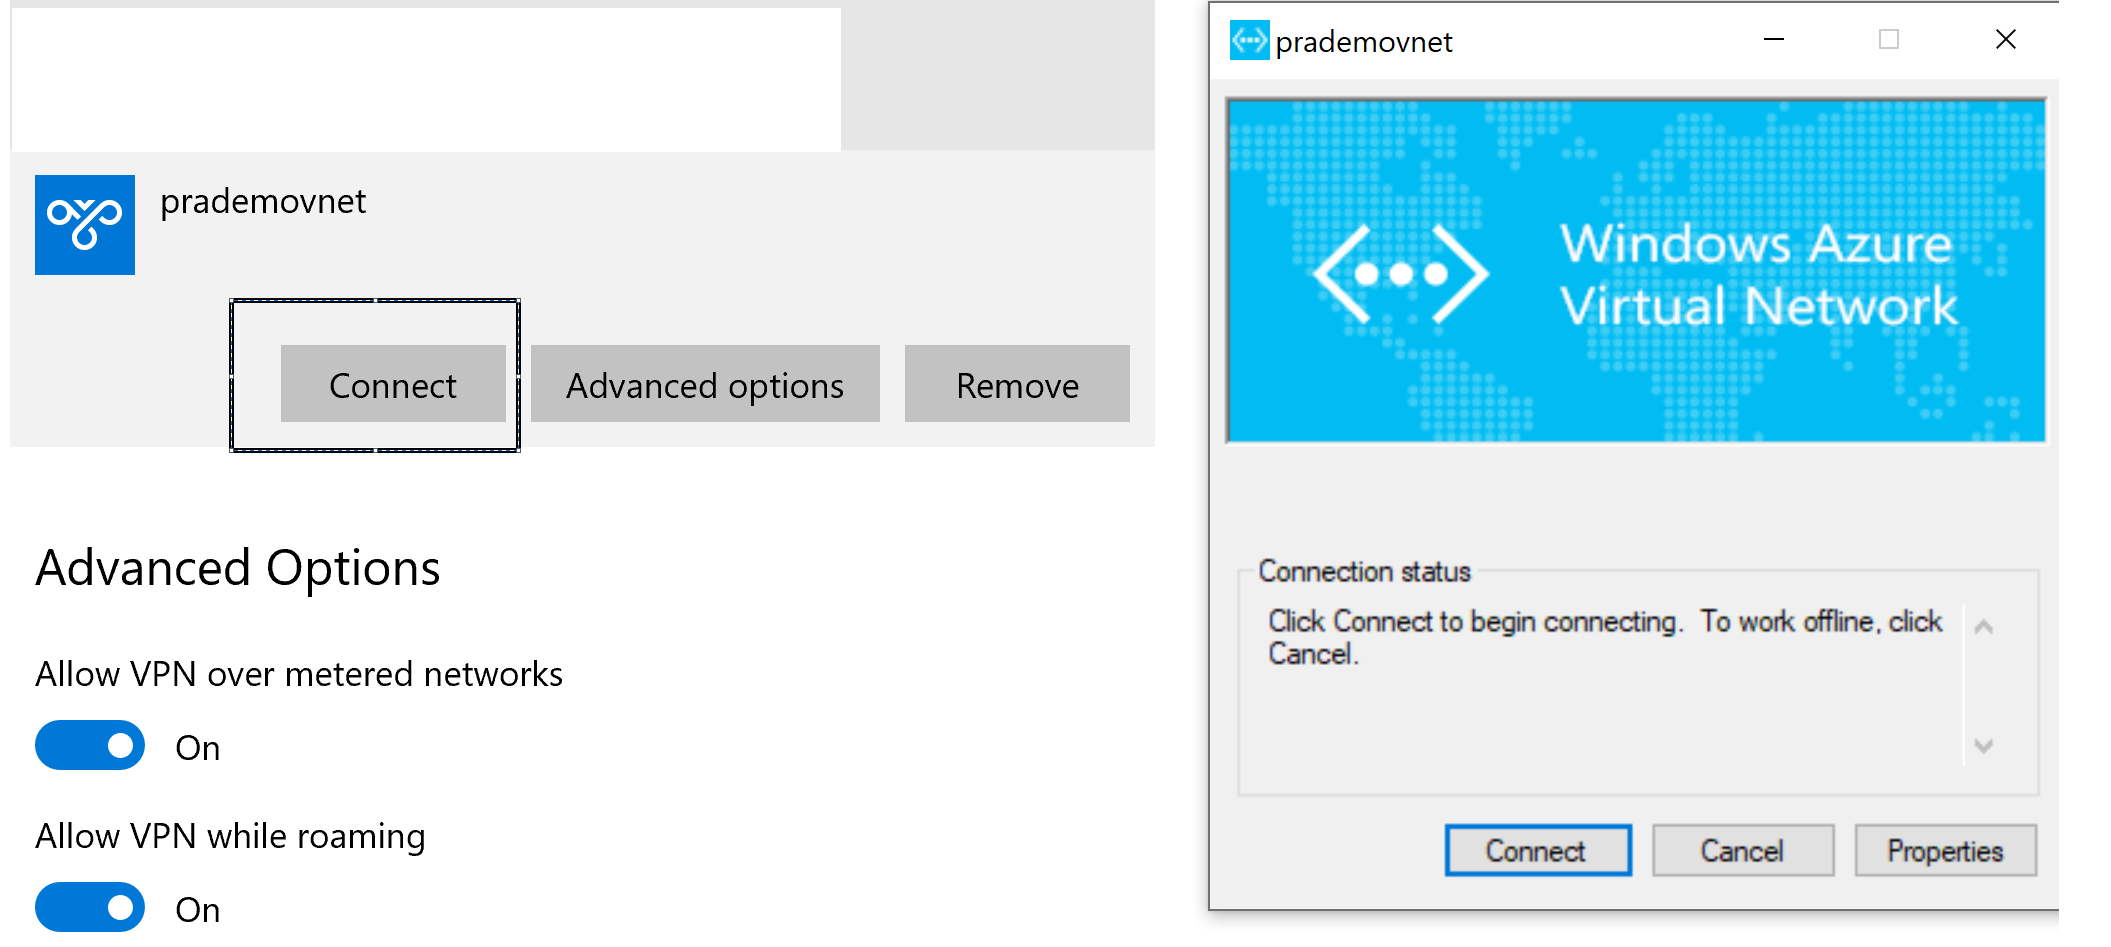
Now to know the status whether it is connected or not → open Network settings → right click on Status
8. Finally, let's try to connect to Azure VM. → open RDP session → type private IP address of Azure VM → click on Connect

Also, you can see the status, and now there is an increase in Bytes send and receive as well.
