ASP.Net MVC CRUD Operation
Here I will disclose how to perform muck activities in asp.net mvc utilizing element structure with model or asp.net mvc muck (embed, update, erase) tasks with models or muck tasks utilizing substance system in asp.net mvc with model or supplement, refresh and erase tasks in asp.net mvc with element system model. In asp.net mvc we can undoubtedly perform muck (embed, update, erase) tasks utilizing substance system without composing single of code.
Description:
In past articles I clarified asp.net mvc tie dropdownlist with model, asp.net mvc get dropdownlist chose esteem, asp.net mvc divert to another view or controller activity technique, asp.net mvc show ready message with model, asp.net mvc get information from database with model, distinction between asp.net web programming interface and web administration with model, web programming interface in asp.net and devour web programming interface in asp.net with model and numerous articles identifying with asp.net mvc, asp.net, c#,vb.net. Presently I will disclose how to perform muck (embed, update, erase) tasks in asp.net mvc with model.
By utilizing substance structure we can perform CRUD (embed, update, erase) tasks on database tables in asp.net mvc effectively without composing any cod for that first plan userdetails table in database and supplement a few information like as demonstrated as follows.
|
Column Name |
Data Type |
Allow Nulls |
|
userid |
Int(IDENTITY=TRUE) |
NO |
|
username |
varchar(50) |
Yes |
|
education |
Varchar(50) |
Yes |
|
location |
Varchar(50) |
Yes |
Or use following query to create userdetails table in database and insert some data to bind values to dropdownlist.
create table userdetails(

userid int primary key identity,

username varchar(50),

education varchar(50),

location varchar(50))


INSERT INTO userdetails(username,education,location)

values('Sarthak Varshney','MCA','Chandigarh'),

('Mayank','MCA','Bisauli'),

('Uday','MCA','Chandigarh'),

('Ram','MCA','Chandigarh')
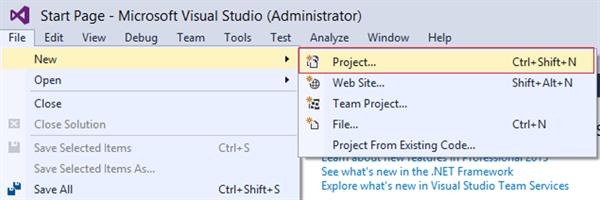
Once we create userdetails table now create asp.net mvc application for that Open visual studio -> Go to File -> Select New -> Project like as shown below
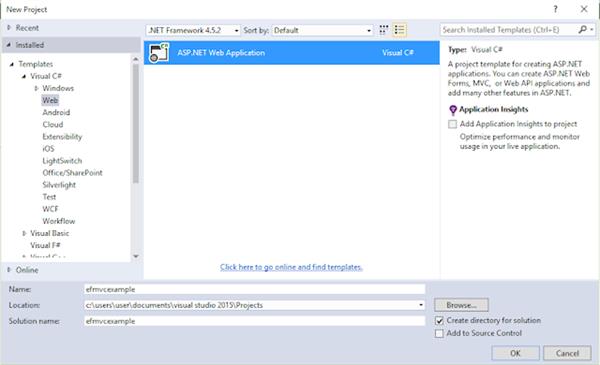
we select Project new popup will open in that select Asp.Net Web Application and offer name to application and snap OK like as demonstrated as follows
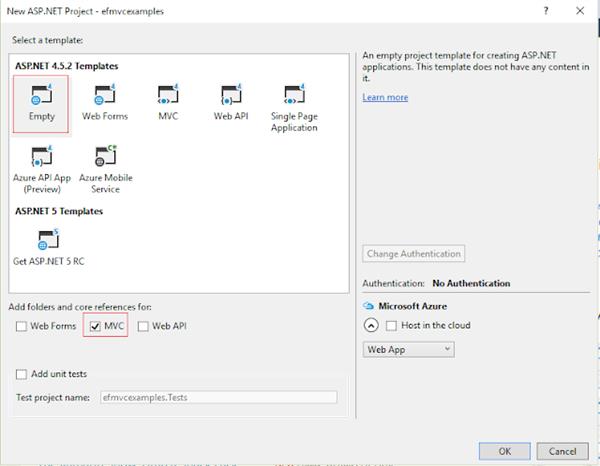
click OK new popup will open in that select Empty format and choose organizers and center reference as MVC and snap OK like as demonstrated as follows
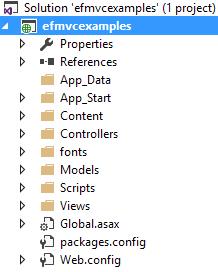
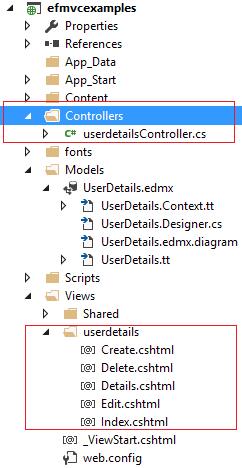
we completed the process of making application our venture structure will resemble as demonstrated as follows
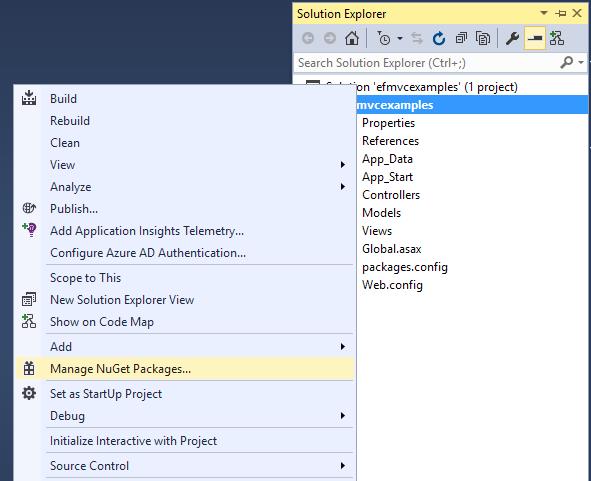
Presently we will introduce Entity Framework segment in our task for that correct snap on our venture select "Oversee Nuget Packages" like as demonstrated as follows
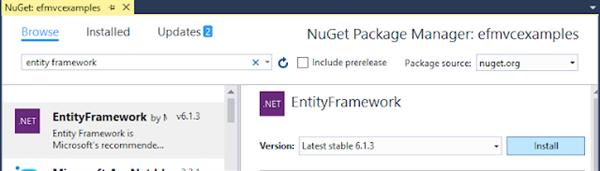
Presently scan for "Entity Framework" and introduce it like as demonstrated as follows
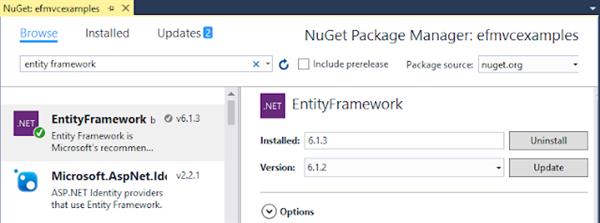
Once "Entity Framework" establishment finished methods it will show Green tick symbol like as demonstrated as follows.
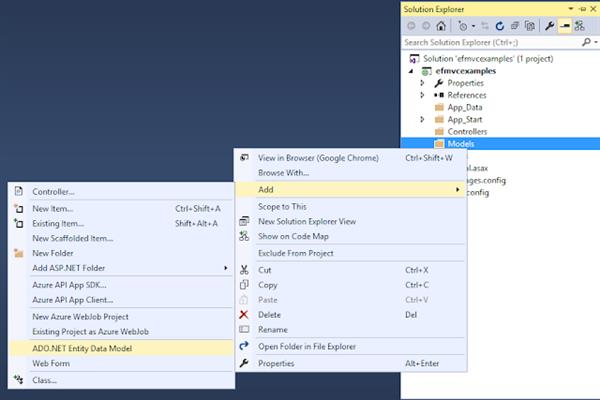
Presently we will include new ADO.NET Entity Data Model to our application for that correct snap on Models envelope select Add select ADO.NET Entity Data Model like as demonstrated as follows
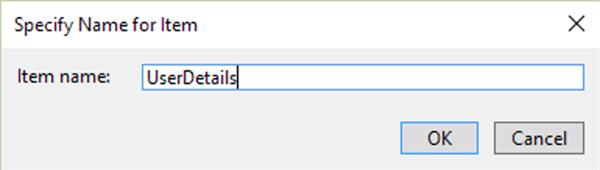
When we click on ADO.NET Entity Data Model new popup will open in that enter name of model like as demonstrated as follows.
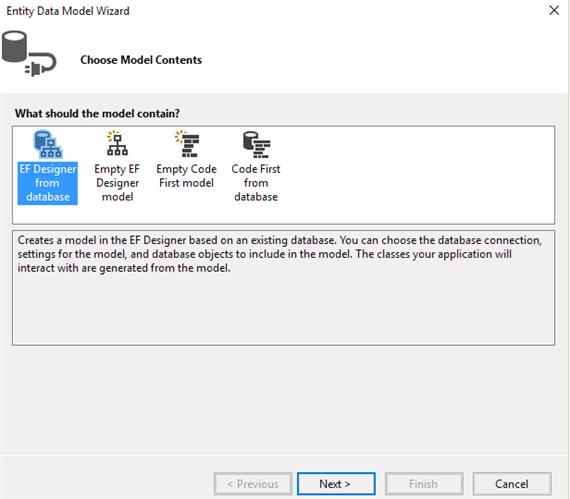
When we enter name for model snap OK button new popup will open in that select "EF Designer from Database" and snap Next catch like as demonstrated as follows.
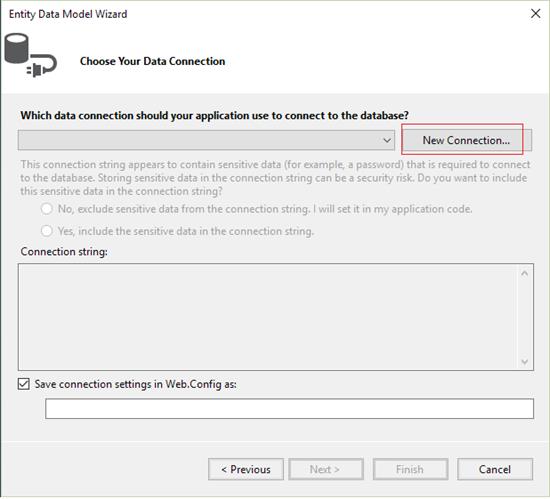
In next window, we have to design required database association for that snap on "New Connection" like as demonstrated as follows.
When we click on "New Connection" new popup will open in that arrange required database like as demonstrated as follows.
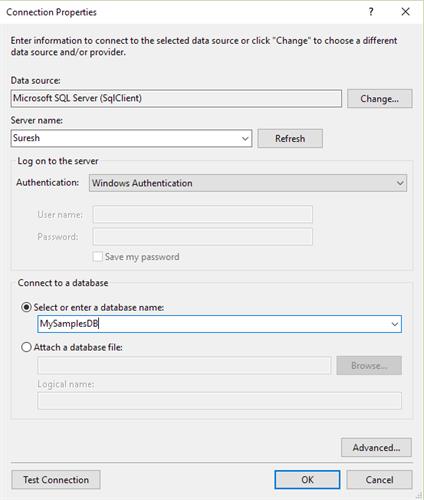
When server and database design completed snap on OK button then it will organize database association like as demonstrated as follows.
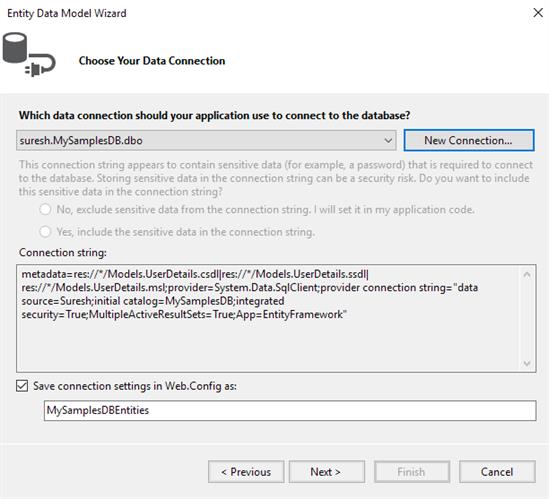
On the off chance that in the event that you need diverse name for element model, at that point you can give your custom name and snap Next to choose expected tables to utilize it in our application.

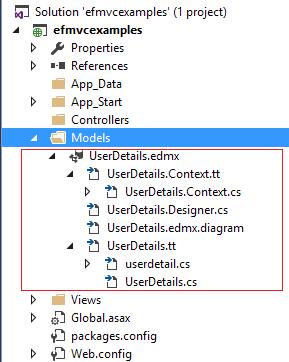
When we select required tables click Finish button then it will make required dbcontext records and model documents like as demonstrated as follows.
Presently we will add new controller to get information from database for that correct snap on Controller envelope -> select Add -> Controller like as demonstrated as follows
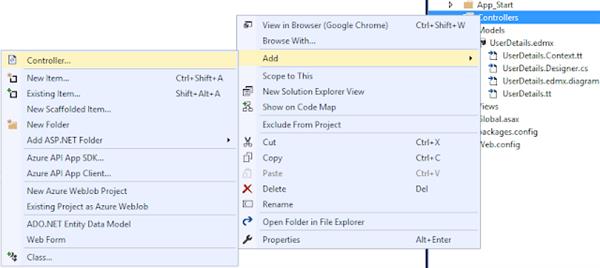
When we click on Controller new popup will open in that select MVC 5 Controller with sees, utilizing Entity Framework and snap Add like as demonstrated as follows.

When click on Add new window will open in that select Model class, Data setting class and give name of controller and snap Add like as demonstrated as follows

When we include controller naturally perspectives will make like as appeared beneath we don't have to compose anything everything made by Entity Framework.
Presently open recently made controller that will contain code like as demonstrated as follows
using System.Data.Entity;

using System.Linq;

using System.Net;

using System.Web.Mvc;

using efmvcexamples.Models;


namespace efmvcexamples.Controllers

{

public class userdetailsController : Controller

{

private MySamplesDBEntities db = new MySamplesDBEntities();


// GET: userdetails

public ActionResult Index()

{

return View(db.userdetails.ToList());

}


// GET: userdetails/Details/5

public ActionResult Details(int? id)

{

if (id == null)

{

return new HttpStatusCodeResult(HttpStatusCode.BadRequest);

}

userdetail userdetail = db.userdetails.Find(id);

if (userdetail == null)

{

return HttpNotFound();

}

return View(userdetail);

}


// GET: userdetails/Create

public ActionResult Create()

{

return View();

}


// POST: userdetails/Create

// To protect from overposting attacks, please enable the specific properties you want to bind to, for

// more details see http://go.microsoft.com/fwlink/?LinkId=317598.

[HttpPost]

[ValidateAntiForgeryToken]

public ActionResult Create([Bind(Include = "userid,username,education,location")] userdetail userdetail)

{

if (ModelState.IsValid)

{

db.userdetails.Add(userdetail);

db.SaveChanges();

return RedirectToAction("Index");

}


return View(userdetail);

}


// GET: userdetails/Edit/5

public ActionResult Edit(int? id)

{

if (id == null)

{

return new HttpStatusCodeResult(HttpStatusCode.BadRequest);

}

userdetail userdetail = db.userdetails.Find(id);

if (userdetail == null)

{

return HttpNotFound();

}

return View(userdetail);

}


// POST: userdetails/Edit/5

// To protect from overposting attacks, please enable the specific properties you want to bind to, for

// more details see http://go.microsoft.com/fwlink/?LinkId=317598.

[HttpPost]

[ValidateAntiForgeryToken]

public ActionResult Edit([Bind(Include ="userid,username,education,location")] userdetail userdetail)

{

if (ModelState.IsValid)

{

db.Entry(userdetail).State = EntityState.Modified;

db.SaveChanges();

return RedirectToAction("Index");

}

return View(userdetail);

}


// GET: userdetails/Delete/5

public ActionResult Delete(int? id)

{

if (id == null)

{

return new HttpStatusCodeResult(HttpStatusCode.BadRequest);

}

userdetail userdetail = db.userdetails.Find(id);

if (userdetail == null)

{

return HttpNotFound();

}

return View(userdetail);

}


// POST: userdetails/Delete/5

[HttpPost, ActionName("Delete")]

[ValidateAntiForgeryToken]

public ActionResult DeleteConfirmed(int id)

{

userdetail userdetail = db.userdetails.Find(id);

db.userdetails.Remove(userdetail);

db.SaveChanges();

return RedirectToAction("Index");

}


protected override void Dispose(bool disposing)

{

if (disposing)

{

db.Dispose();

}

base.Dispose(disposing);

}

}

}
That is it we done don't have to compose any code naturally everything arranged by Entity Framework.
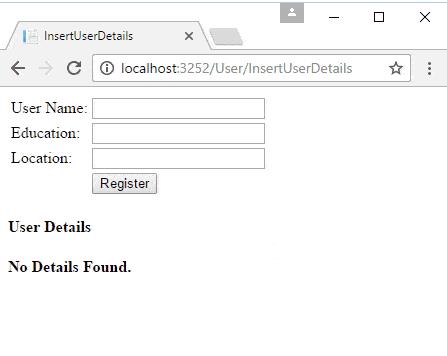
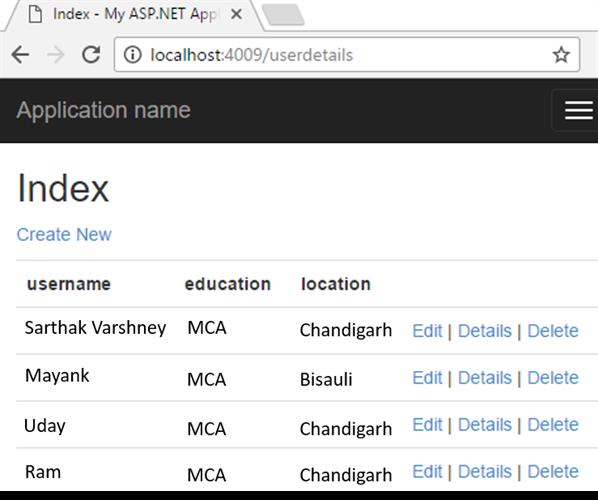
Now we will run and see the application result. (url always in the format of http://localhost:portnumber/controller name/action method name) and check the output that would be like as shown below.
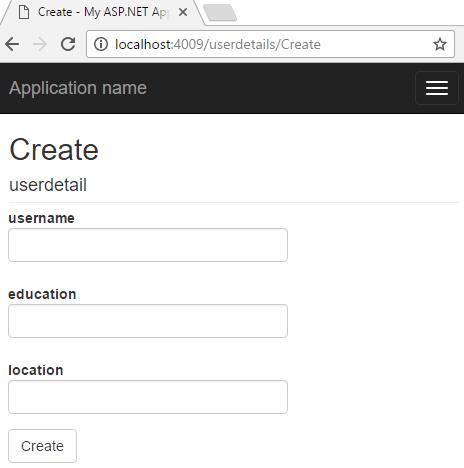
To Create new client subtleties our page will resemble as demonstrated as follows.
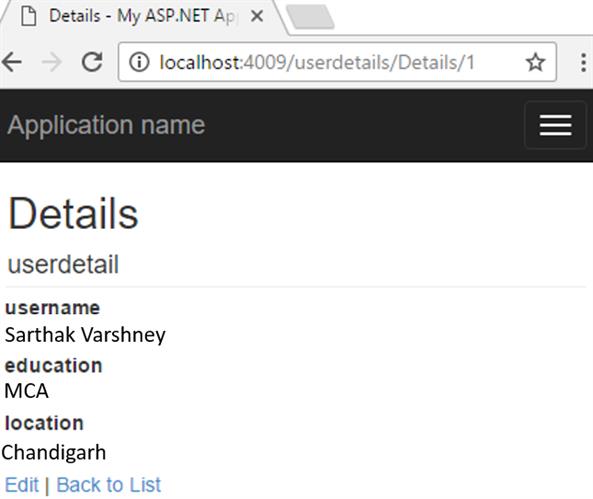
To see specific client subtleties our page will resemble as demonstrated as follows.
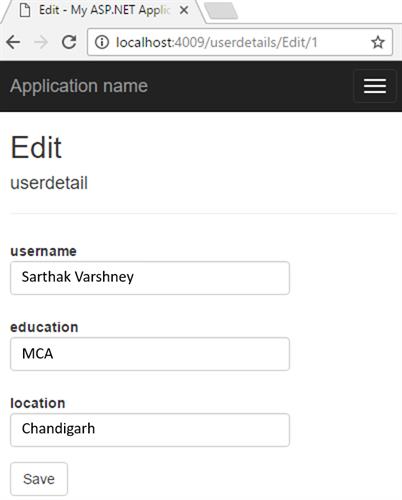
To Edit client subtleties our page will resemble as demonstrated as follows.
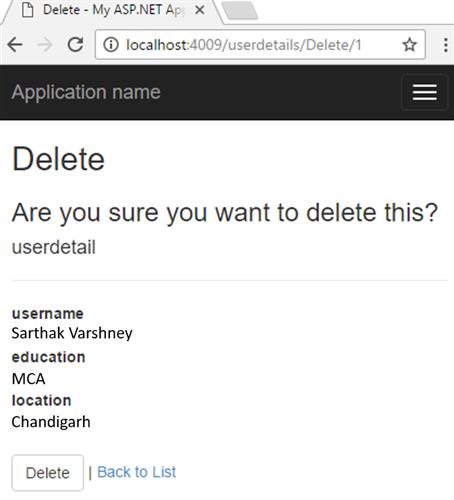
To Delete client subtleties our page will resemble as demonstrated as follows.
This is the means by which we can utilize Entity Framework in asp.net mvc to perform CRUD (embed, update, erase) activities dependent on our prerequisites.